Showing posts with label Papertrey Ink. Show all posts

Saturday, November 16, 2024

Color Hues Color Challenge #99 | Peace & Joy

 PRODUCT LINKS BELOW CONTAIN COMPENSATED AFFILIATE LINKS AT NO COST  
 
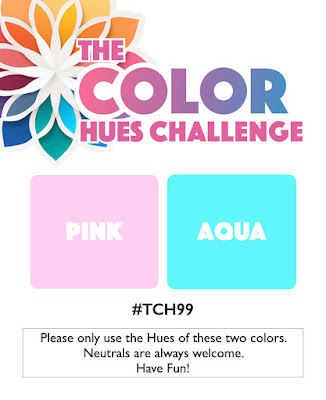
It's time for us to share the next Hues of Color over at the Color Hues Challenge Blog! The colors that have been chosen for you to create with are Pink and Aqua for the next two weeks! We can't wait to see how you are inspired!
 
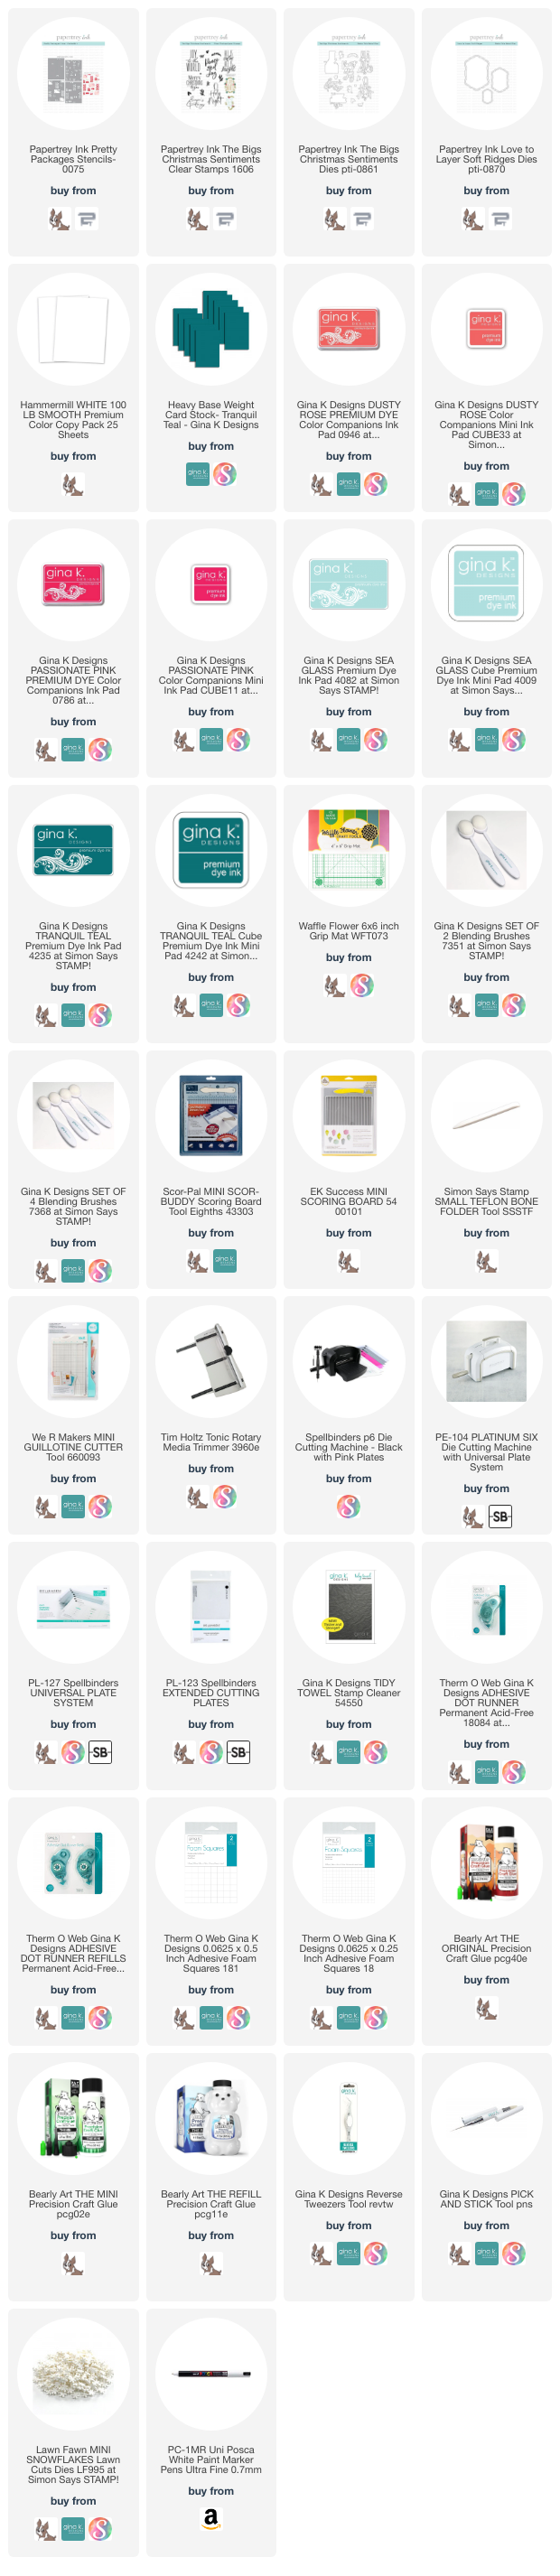
My card features Papertrey Ink's Pretty Packages Stencil and a sentiment from the NEW The Bigs Christmas Sentiments Stamp & Die set.
 
Card Measurements:
White A2 Top Fold Card Base: 4 1/4" x 5 1/2" (4 1/4" x 11", scored at 5 1/2")
Tranquil Teal Panel: 4" x 5 1/4"
White Stenciled Panel: 3 7/8" x 5 1/8"
White Love to Layer: Soft Ridges Panel: 2 3/8" x 3 3/8"
Peace and Joy Sentiment Die: 2 1/8" x 2 15/16"

Steps to Create Card: 
  • Create White A2 Top Fold Card Base measuring: 4 1/4" x 5 1/2" (4 1/4" x 11", scored at 5 1/2").
  • Cut Tranquil Teal Panel measuring: 4" x 5 1/4".
  • Cut White A2 Panel measuring: 4 1/4" x 5 1/2" and use Pretty Packages Stencil with Dusty Rose, Passionate Pink, Sea Glass and Tranquil Teal ink. Trim finish panel to measure: 3 7/8" x 5 1/8".
  • Die Cut White Soft Ridges Panel measuring: 2 3/8" x 3 3/8" using Love to Layer: Soft Ridges.
  • Stamp " Peace and Joy" sentiment using The Bigs Christmas Sentiments Stamp & Die Set with Tranquil Teal ink on White card stock. Die Cut with coordinating die. 
  • Assemble card.
  • Embellish with Posca White Paint Pen and Mini Snowflakes
Compensated affiliate links used when available. If you place an order after clicking on one of my links, I will receive a small commission at no cost to you. Make sure to accept cookies. Thank you for your support! 
Make sure to head over to the Color Hues Challenge blog to join the fun and see what my talented teammates have created to inspire you!
Happy Stamping!!

Thursday, November 14, 2024

Papertrey Ink | Reflections October 2024 Mini Stamp & Die

 PRODUCT LINKS BELOW CONTAIN COMPENSATED AFFILIATE LINKS AT NO COST  

Happy Thursday! I'm back today to share a Holiday card featuring Papertrey Ink NEW Reflections October 2024 Mini Stamp & Die from their latest release.

Card Measurements:
White A2 Top Fold Card Base: 4 1/4" x 5 1/2" (4 1/4" x 11", scored at 5 1/2")
Ocean Mist A2 Ink Blended Panel: 4 1/4" x 5 1/2"
Kraft Shelter: 4" x 4 1/2"
Kraft Manger: 1 1/2" x 1 3/8"
Vellum Sentiment Panel: 3 1/4" x 3 3/4"
 
Steps to Create Card: 
  • Create White A2 Top Fold Card Base measuring: 4 1/4" x 5 1/2" (4 1/4" x 11", scored at 5 1/2").
  • Cut Ocean Mist A2 Panel measuring: 4 1/4" x 5 1/2". Ink blend with Powder Blue, Blue Denim and In the Navy ink. Add White Paint Splatters and set panel aside to dry. 
  • Die Cut Shelter, Manger and Stars using Reflections October Dies with Kraft and Gold Glitter card stock. Add Charcoal Brown ink to kraft die cut pieces.
  • Stamp verse using Reflection October Mini Stamp Set with Versamark ink on Vellum and Heat Emboss with Gold Embossing Powder. Trim to fit behind Shelter (approx 3 1/4" x 3 3/4").
  • Assemble card.
  • Embellish with Gold Cord/Twine Bow (from stash). 
Compensated affiliate links used when available. If you place an order after clicking on one of my links, I will receive a small commission at no cost to you. Make sure to accept cookies. Thank you for your support! Papertrey Ink
October 2024 Release 
Compensated affiliate links used when available. If you place an order after clicking on one of my links, I will receive a small commission at no cost to you. Make sure to accept cookies. Thank you for your support! Happy Stamping!!

Thursday, November 7, 2024

Papertrey Ink | Merry Christmas

I'm back today to share a Christmas card featuring a mix of fabulous new products from Papertrey Ink latest release! 
 
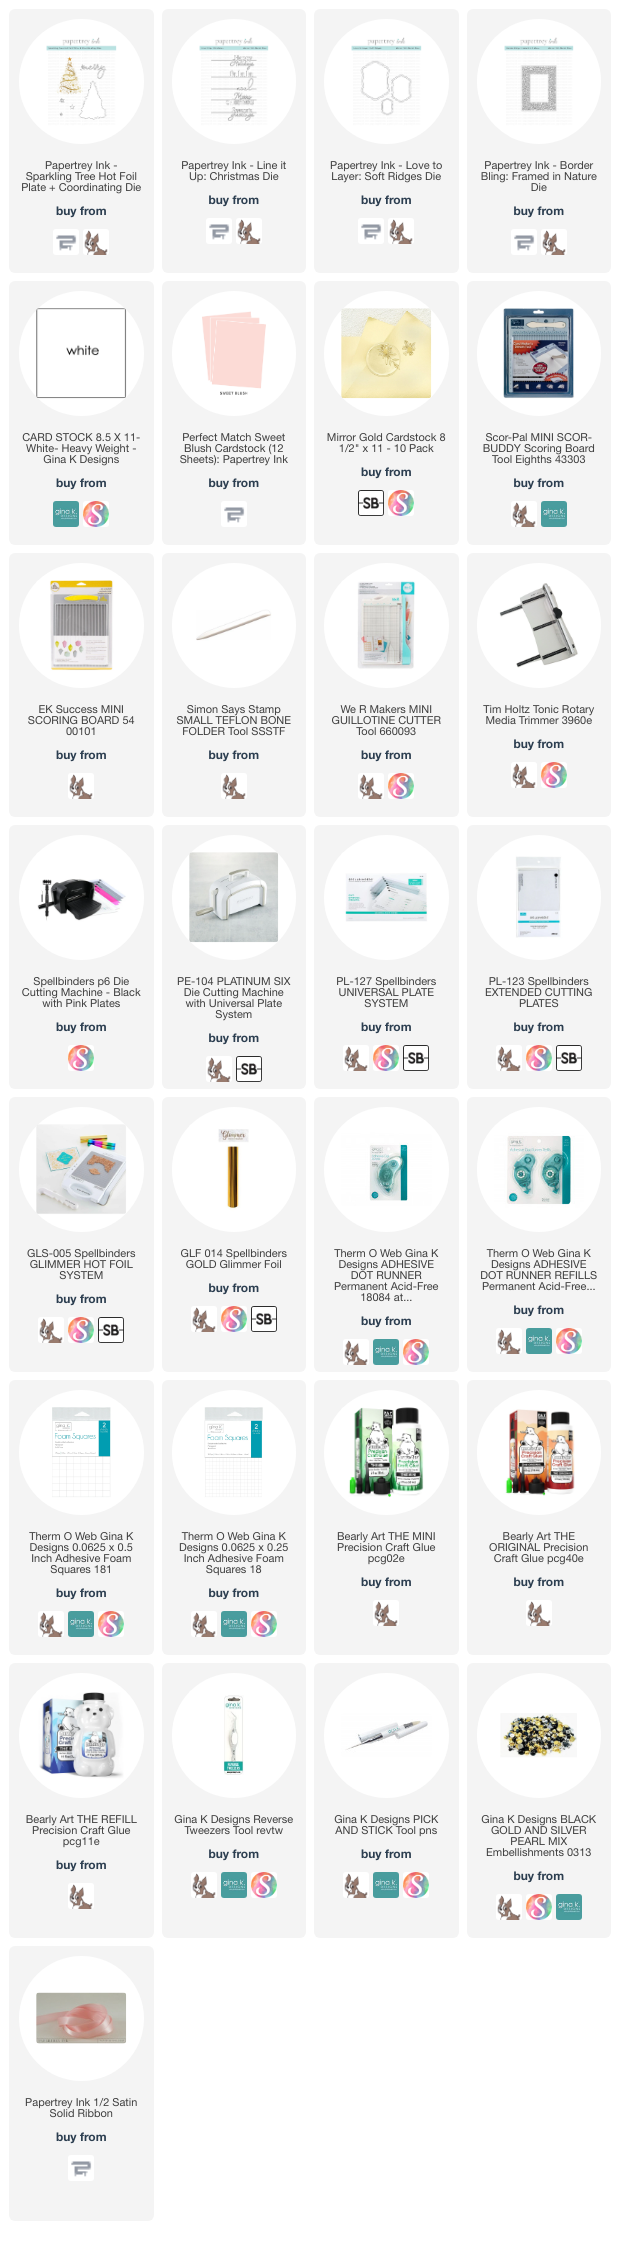
My card features the NEW Sparkling Tree Hot Foil Plate & Die, Line it Up Christmas, Love to Layer Soft Ridges and Border Bling Framed in Nature. I’m totally loving the Sweet Blush & Gold for a non traditional color combo with a bit of shine from the foiling!
 
Card Measurements:
White A2 Top Fold Card Base: 4 1/4" x 5 1/2" (4 1/4" x 11", scored at 5 1/2")
Sweet Blush Border Bling Framed In Nature Panel: 4 1/4" x 5 1/2"
White Love to Layer Soft Ridges Panel: 4 1/4" x 5 1/2"
Sweet Blush foiled Sparkling Tree: 3 5/16" x 4 5/8"
Gold Mirror Merry Christmas: 3 7/8" x 1 1/2"
 
Steps to Create Card: 
  • Create White A2 Top Fold Card Base: 4 1/4" x 5 1/2" (4 1/4" x 11", scored at 5 1/2").
  • Die Cut Border Bling Framed In Nature Panel using Sweet Blush card stock. Attach panel directly to White A2 card base. 
  • Die Cut Love to Layer Soft Ridges Panel measuring: 4 1/4" x 5 1/2" with White card stock.
  • Foil Sparkling Tree Hot Foil Plate using Sweet Blush card stock and Gold Foil. Die cut tree with coordinating die. Die Cut coordinating stars with Mirror Gold card stock. Attach stars to tree with foam tape. 
  • Die Cut "Merry Christmas" using Line it Up Christmas with Gold Mirror card stock.
  • Assemble card.
  • Embellish with a Bow around the top of the card using 1/2" Sweet Blush Satin Ribbon & Gold Cord Twine (from stash) and Gold Pearls on the tree.
Compensated affiliate links used when available. If you place an order after clicking on one of my links, I will receive a small commission at no cost to you. Make sure to accept cookies. Thank you for your support! Papertrey Ink
October 2024 Release
Compensated affiliate links used when available. If you place an order after clicking on one of my links, I will receive a small commission at no cost to you. Make sure to accept cookies. Thank you for your support!

Happy Stamping!!

Saturday, November 2, 2024

Papertrey Ink | Noel

I'm excited to be back today to share a CAS (clean & simple) holiday card featuring products from Papertrey Ink October 2024 Release
 
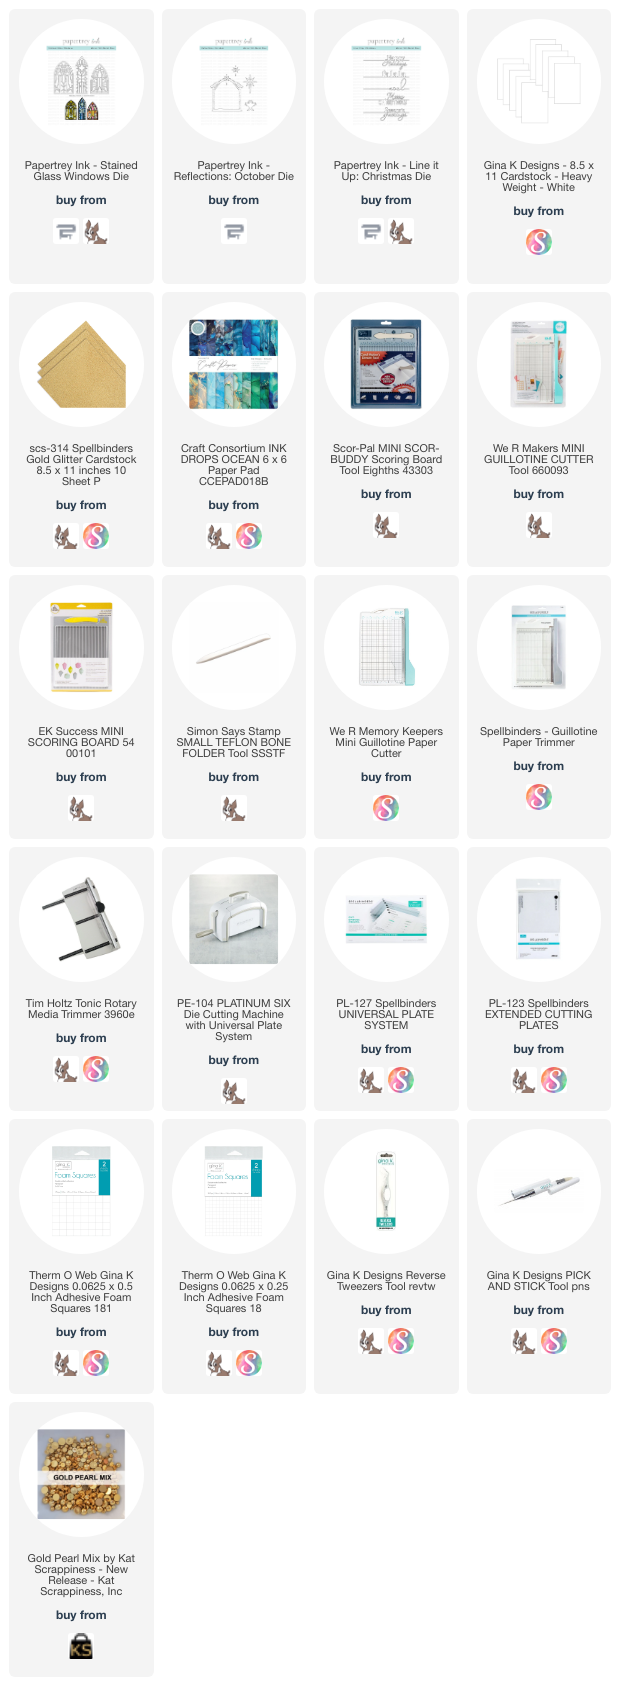
My card features the NEW Stained Glass Windows Die, Reflections: October Die, and Line it Up: Christmas Die.

Card Measurements:
White A2 Top Fold Card Base: 4 1/4" x 5 1/2" (4 1/4" x 11", scored at 5 1/2")
White Panel: 3 3/4" x 5"
White Inlaid Window: 2 1/4" x 3 5/8"
Pattern Paper (Behind Window): 2 3/4" x 4"
Gold Glitter Star: 3/4" x 1 1/8"
Gold Glitter Noel: 3 3/4" x 1 7/16"
 
Steps to Create Card:
  • Create a White A2 Top Fold Card Base measuring: 4 1/4" x 5 1/2" (4 1/4" x 11", scored at 5 1/2").
  • Cut a White Panel measuring: 3 3/4" x 5". Using the Stained Glass Windows Die, die cut one of the windows in the center. To create a stained glass window I used a piece of pattern paper measuring: 2 3/4" x 4" and attach to the back the White panel. Next die cut a Large Star using the Reflections: October Die Set with Gold Glitter card stock. Attach star to the pattern paper at the top of the window. Finish window by inlaying the White die cut into place.
  • Die Cut "Noel" sentiment using Line it Up: Christmas Die and Gold Glitter card stock. Glue to bottom of window going across panel.
  • Pop Up White Panel onto the White Card Base with foam tape.
  • Embellish with Gold Pearls at the top left side of the window.  
Compensated affiliate links used when available. If you place an order after clicking on one of my links, I will receive a small commission at no cost to you. Make sure to accept cookies. Thank you for your support! Papertrey Ink
October 2024 Release
Compensated affiliate links used when available. If you place an order after clicking on one of my links, I will receive a small commission at no cost to you. Make sure to accept cookies. Thank you for your support!
Happy Stamping!!

Tuesday, October 29, 2024

Papertrey Ink | October 2024 Release

I'm super excited to announce that I have been invited to join Papertrey Ink for their October 2024 Release! This months release is a continuation of their Holiday Release and is jammed packed with festive holiday stamps, dies and a stencil!
 
Today we are over on Instagram celebrating the release with an Instagram Hop that has tons of inspiration and a GIVEAWAY. You can join the hop HERE.  
 
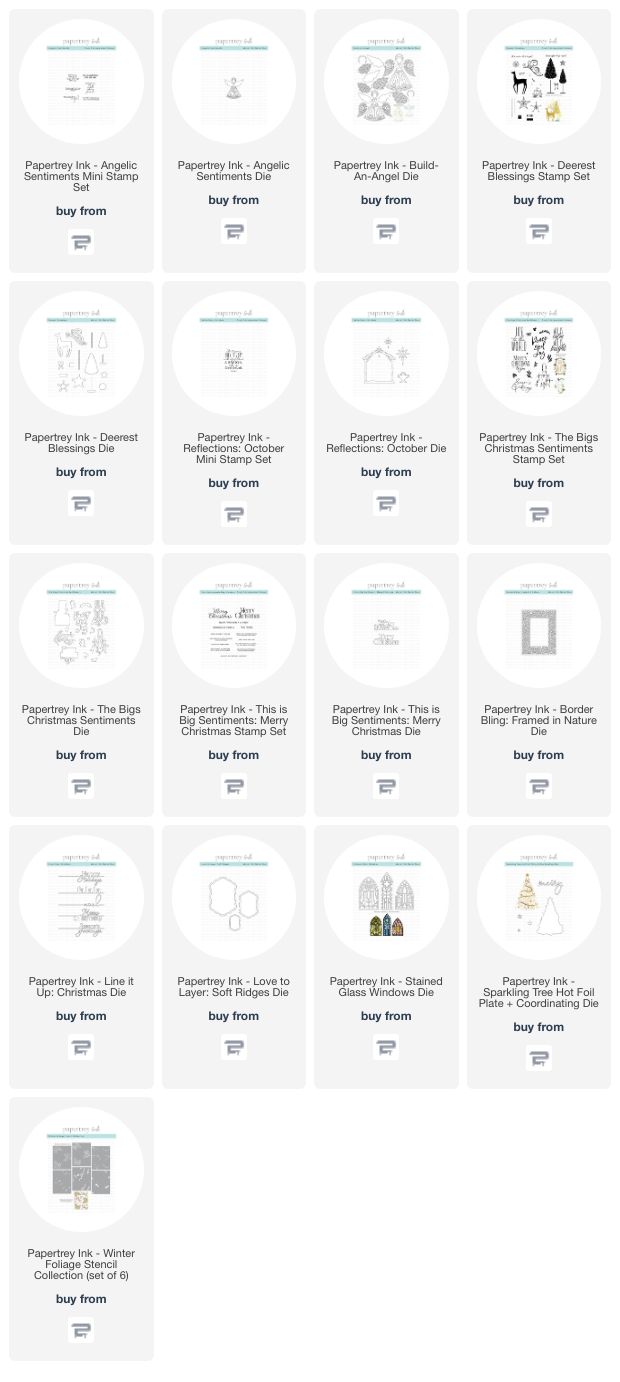
My card features the NEW The Bigs Christmas Sentiments Stamps, The Bigs Christmas Sentiments Dies and Love to Layer: Soft Ridges Dies.
 
Card Measurements:
White A2 Top Fold Card Base: 4 1/4" x 5 1/2" (4 1/4" x 11", scored at 5 1/2")
Pure Poppy A2 Card Panel: 4 1/4" x 5 1/2"
Pure Poppy Cover Plate: Circles Die Panel: 4 1/4" x 5 1/2"
White Love to Layer Soft Ridges: 3 3/8" x 4 3/4"
Pure Poppy Oval: 2 5/8" x 3 1/2"
White Merry Christmas to You: 2 1/4" x 2 1/8"

Steps to Create Card: 
  • Create White A2 Top Fold Card Base measuring: 4 1/4" x 5 1/2" (4 1/4" x 11", scored at 5 1/2").
  • Cut Pure Poppy A2 Card Panel measuring: 4 1/4" x 5 1/2". Ink blend panel around the edges with Red Velvet ink. To add a bit of contrast, lightly ink blend Charcoal Brown ink.
  • Die Cut a Pure Poppy A2 Panel using Cover Plate: Circles Die. Attach panel to the Pure Poppy A2 Panel you just ink blended. Next add texture with White Paint Splatters. Set panel aside to dry.
  • Die Cut White mat measuring: 3 3/8" x 4 3/4" using Love to Layer Soft Ridges dies.
  • Die Cut Pure Poppy Oval measuring: 2 5/8" x 3 1/2".
  • Stamp "Merry Christmas to You" sentiment using The Bigs Christmas Sentiments Stamps with Black ink and die cut with coordinating die set.
  • Stamp floral elements using The Bigs Christmas Sentiments Stamps with Fresh Asparagus and Red Velvet ink. Die Cut elements out with coordinating dies.
  • Die Cut 2 Pine Boughs using Pine Boughs Dies with Fresh Asparagus ink.
  • Assemble Card.
  • Embellish with Pure Poppy Swiss Dot Ribbon, Silver Gems and Diamond Stickles.

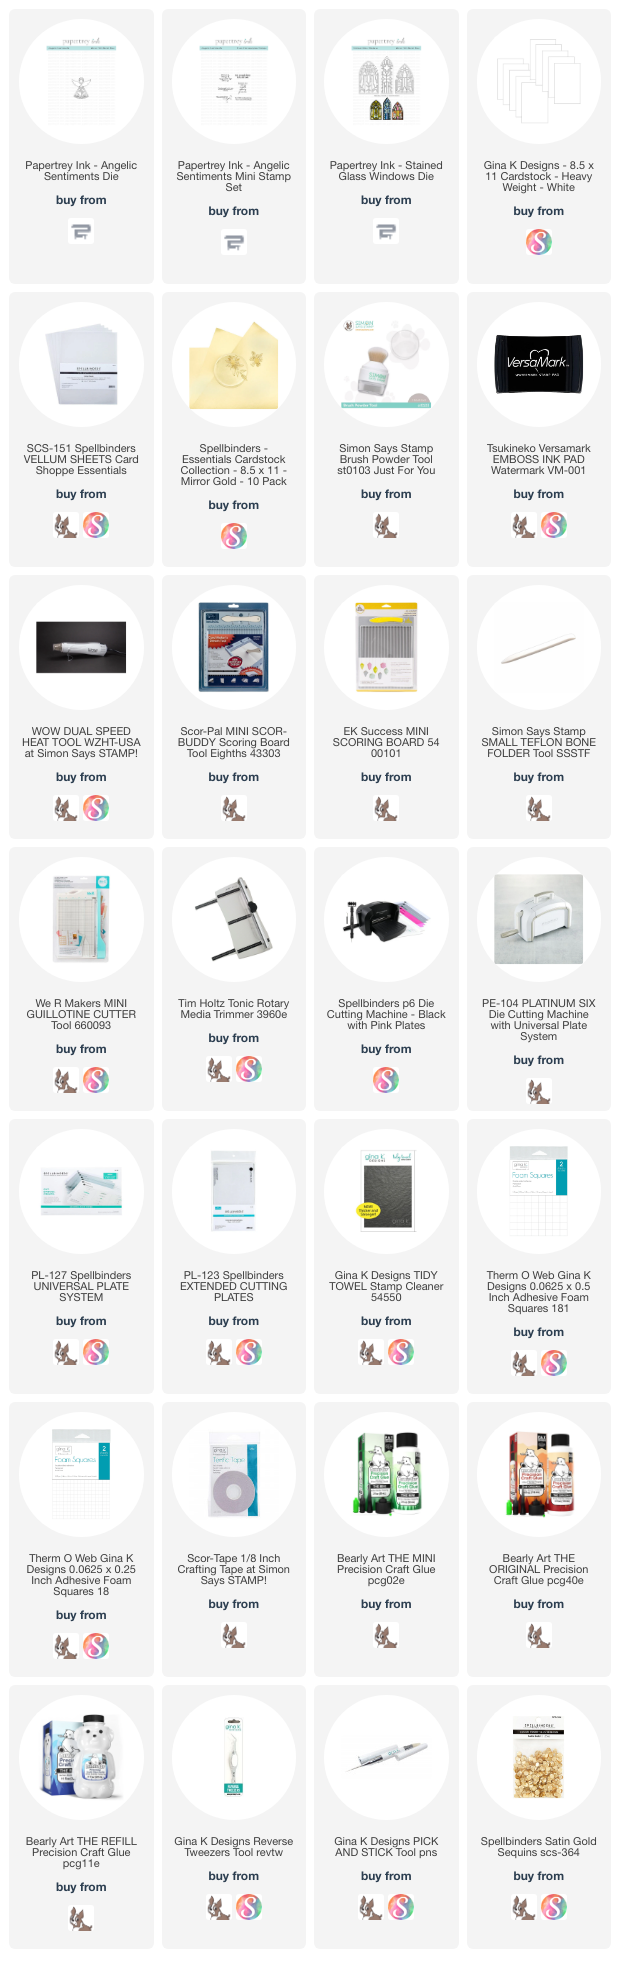
Compensated affiliate links used when available. If you place an order after clicking on one of my links, I will receive a small commission at no cost to you. Make sure to accept cookies. Thank you for your support! Here's a CAS (clean & simple) Shaker card I shared during the Release Count Down featuring the NEW Angelic Sentiments Stamps, Angelic Sentiments Die & Stained Glass Window Dies

Card Measurements:
White A2 Top Fold Card Base: 4 1/4" x 5 1/2" (4 1/4" x 11", scored at 5 1/2")
White Panel: 4" x 5 1/4"
White & Mirrored Gold Angel: 2 1/4" x 2 9/16"
White Stained Glass Window: 2 5/16" x 4"
Vellum Panel: 3" x 4 1/4"
White Sentiment Banner: 2" x 5/8"

Steps to Create Card:
  • Create White A2 Top Fold Card Base measuring: 4 1/4" x 5 1/2" (4 1/4" x 11", scored at 5 1/2").
  • Cut White Panel Measuring: 4" x 5 1/4". Next you will die cut the Stained Glass Window measuring: 2 5/16" x 4" in the center of the panel. Attach a  Vellum Panel measuring: 2 5/16" x 4" to the back of the White Panel and the then glue the White Stained Glass Window die cut to the front of the panel over the vellum to create your window. Create shaker well by adding foam tape and fill with shaker bits (Satin Gold Sequins) and attach to White card base.
  • Die Cut Angel using Angelic Sentiments Die with White card stock and Gold Mirror card stock. Attach the Gold Mirror angel to the back of the White angel to show through.
  • Stamp "May an angel always be by your side" sentiment using Angelic Sentiments Stamps with Embossing ink and heat emboss with Gold Embossing Powder. Trim into a sentiment strip measuring:  2" x 5/8".
  • Assemble card.
  • Embellish with a few Satin Gold Sequins
Compensated affiliate links used when available. If you place an order after clicking on one of my links, I will receive a small commission at no cost to you. Make sure to accept cookies. Thank you for your support! Papertrey Ink
October 2024 Release Happy Stamping!!