PRODUCT LINKS BELOW CONTAIN COMPENSATED AFFILIATE LINKS AT NO COST
Spellbinders has released Part 2 to their May 2024 Arrivals and you can find the full May 2024 Release in the store HERE. Today I'm showcasing the NEW Bayfair by Rosie's Studio Collection.
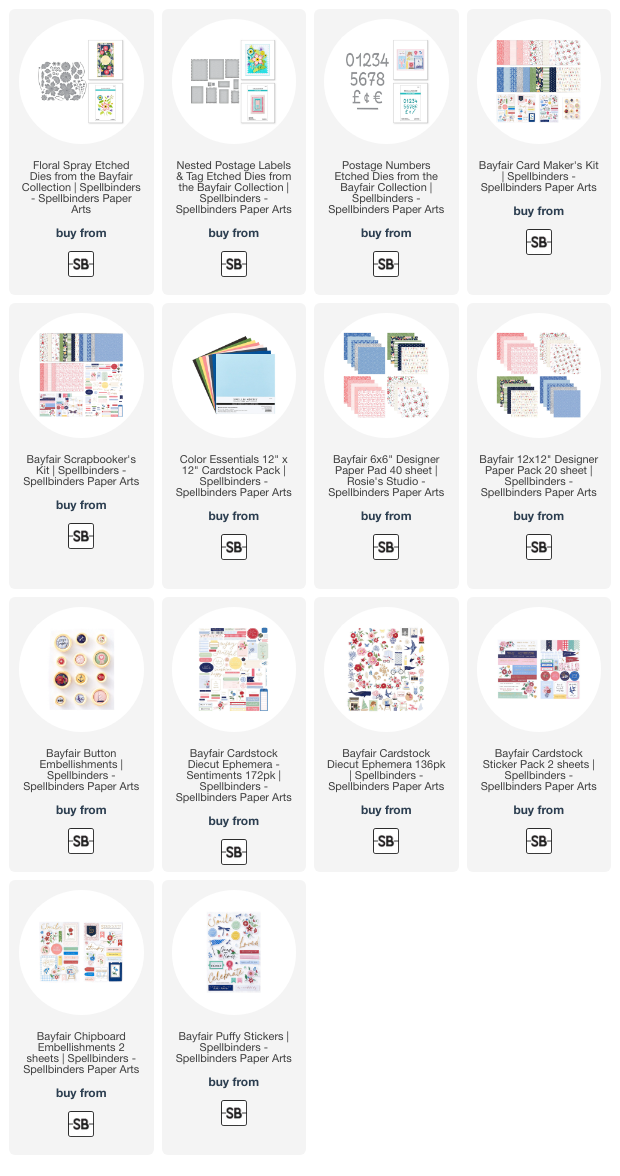
The Bayfair By Rosie's Studio Collection has a little bit of everything from a Card Kit to a Scrapbooker's Kit. You also are able to purchase papers and embellishments a la carte. There are also three new die sets available.
I created two cards to featuring the beautiful NEW Rosie's Studio Bayfair 6x6 Designer Paper along with the Nested Postage Labels & Tag (S5-635) and Floral Spray (S5-638) dies. For sentiments I pulled out the You Are Everything Sentiments (BP-110) and Always & Forever Sentiment Strips (BP-025) and foiled them with Gold Foil (GLF-014).
White A2 Top Fold Card Base: 4 1/4" x 5 1/2" (4 1/4" x 11", scored at 5 1/2")
Innocent Pink Stitched Panel: 3 3/4" x 5"
Cherry Red Postage Label Panel: 3 1/2" x 4 3/4"
Floral Print Designer Paper Stitched Panel: 3" x 4 1/4"
Pink & White Striped Designer Paper Banner: 1 1/2" x 4"
White Circle: 2"
Cherry Red Sentiment Strip: 2 1/4" x 1/4"
Steps to Create Card:
- Create White A2 Top Fold Card Base measuring: 4 1/4" x 5 1/2" (4 1/4" x 11", scored at 5 1/2").
- Die Cut Innocent Pink Stitched Panel measuring: 3 3/4" x 5" using Nested Postage Labels & Tag (S5-635).
- Die Cut Cherry Red Postage Label Panel measuring: 3 1/2" x 4 3/4" using Nested Postage Labels & Tag (S5-635).
- Die Cut Floral Print Designer Paper Stitched Panel measuring: 3" x 4 1/4" using Nested Postage Labels & Tag (S5-635) with Rosie's Studio Bayfair 6x6 Designer Paper.
- Cut Pink & White Striped Print Designer Paper Strip measuring: 1 1/2" x 4 1/2" and use 3-in-1 Banner Punch (T-065). Final size should measure: 1 1/2" x 4".
- Die Cut White Circle measuring: 2" using Everlasting Circles (S4-1280).
- Die Cut Floral Pieces using Floral Spray (S5-628) with Cherry Red, Innocent Pink, Rainforest and Fern card stock. Ink blend with Cherry Red and Fresh Asparagus ink. Assemble flowers.
- Foil "Happy Birthday" sentiment using Always & Forever Sentiment Strips (BP-025) with Gold Foil (GLF-014). Die cut out with coordinating die.
- Assemble card.
- Embellish with White Cord (SCS-259), Diamond Stickles Glitter Glue (flower centers) and Clear Quartz Solid Sequins.
Card Measurements:White A2 Top Fold Card Base: 4 1/4" x 5 1/2" (4 1/4" x 11", scored at 5 1/2")
Pink & White Stripped Stitched Panel: 3 3/4" x 5"
Cherry Red Mat: 3 1/4" x 4 1/2"
Innocent Pink Stitched Panel: 3 1/16" x 4 1/4"
Cherry Red Postage Label Panel: 2 3/4" x 4"
Floral Print Designer Paper Stitched Panel: 2 1/4" x 3 1/2"
Butterfly Embellishment: 1 3/4" x 1 1/4"
Innocent Pink Foiled Sentiment: 2 5/16" x 7/8"
Steps to Create Card:
- Create White A2 Top Fold Card Base measuring: 4 1/4" x 5 1/2" (4 1/4" x 11", scored at 5 1/2").
- Die Cut Pink & White Striped Decorative Paper Stitched Panel measuring: 3 3/4" x 5" using Nested Postage Labels & Tag (S5-635).
- Cut Cherry Red Mat measuring: 3 1/4" x 4 1/2".
- Die Cut Innocent Pink Stitched Panel measuring: 3 1/16" x 4 1/4" using Nested Postage Labels & Tag (S5-635).
- Die Cut Cherry Red Postage Label Panel measuring: 2 3/4" x 4" using Nested Postage Labels & Tag (S5-635).
- Die Cut Floral Print Designer Paper Stitched Panel measuring: 2 1/4" x 3 1/2" using Nested Postage Labels & Tag (S5-635) with Rosie's Studio Bayfair 6x6 Designer Paper.
- Die Cut Floral Pieces using Floral Spray (S5-628) with Cherry Red, Innocent Pink and Rainforest card stock. Ink blend with Cherry Red and Fresh Asparagus ink. Assemble flowers.
- Select a Butterfly from Floral Friendship Butterflies (SCS-278).
Remove from release sheet and add use an Embossing Powder Tool to remove
the stickiness from the back of the butterfly. I do add a small strip of foam
tape to pop up my butterfly.
- Foil "Just Because" sentiment using You Are Everything Sentiments (BP-110) with Gold Foil (GLF-014). Die cut out with coordinating die.
- Assemble Card.
- Embellish with Diamond Stickles Glitter Glue (flower centers) and Clear Quartz Solid Sequins.
Compensated affiliate links used when available. If you place an order after clicking on one of my links, I will receive a small commission at no cost to you. Thank you for your support! Spellbinders
 Bayfair By Rosie's Studio Collection
May 2024
Compensated
affiliate links used when available. If you place an order after
clicking on one of my links, I will receive a small commission at no
cost to you. Thank you for your support! Happy Stamping!!
 Spellbinders
 Spellbinders
_Card%20%233_WM.jpg)


