PRODUCT LINKS BELOW CONTAIN COMPENSATED AFFILIATE LINKS AT NO COST
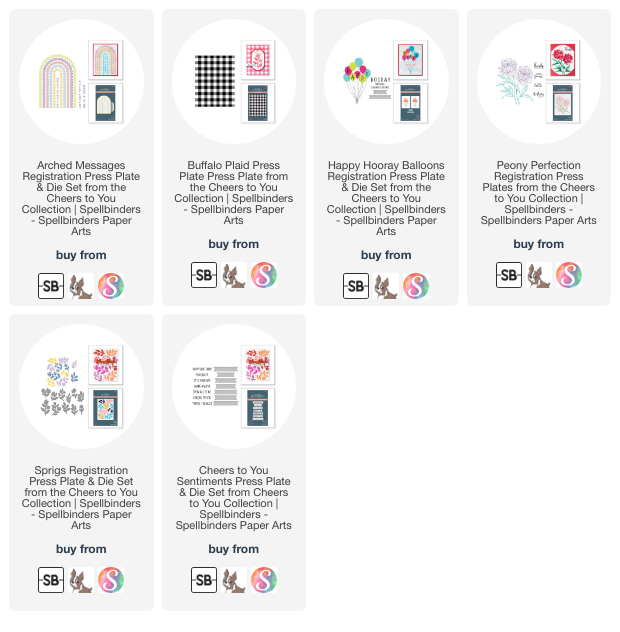
Spellbinders NEW April 2024 Arrivals are NOW available and can be found in the store HERE. Today I'm featuring the NEW BetterPress Cheers to You Collection.
I have two cards to share featuring the NEW Buffalo Plaid (BP-161), Sprigs (BPR-009) and Cheers to You Sentiments (BP-162) from the Cheers to You Collection.
Happy Birthday
From All of Us

Card Measurements:
White A2 Top Fold Card Base: 4 1/4" x 5 1/2" (4 1/4" x 11", scored at 5 1/2")
Kraft Mat: 3 1/2" x 4 3/4"
Porcelain Cotton Pressed Panel: 3 3/8" x 4 5/8"
Kraft Embossed Panel: 2 1/4" x 3"
Porcelain Cotton Pressed Sentiment Strips: 1 13/16" x 3/8" (Happy Birthday) and 1 3/4" x 3/8" (From All Of Us)
Steps to Create Card:
- Create White A2 Top Fold Card Base measuring: 4 1/4" x 5 1/2" (4 1/4" x 11", scored at 5 1/2").
- Die Cut Kraft Mat measuring: 3 1/2" x 4 3/4" using Precision Layering A2 A (S5-487).
- Cut Kraft rectangle measuring: 2 1/4" x 3". Emboss panel with Corrugated 3D Embossing Folder (E3D-037).
- LetterPress Porcelain Cotton A2 Panel measuring: 4 1/4" x 5 1/2" using Buffalo Plaid (BP-161) with Tawny Brown (Nature Tones BPI-002). Trim panel to measure: 3 3/8" x 4 5/8" using Precision Layering A2 B (S5-494).
- LetterPress Porcelain Cotton A2 Panel measuring: 4 1/4" x 5 1/2" using Sprigs (BPR-009) with Tawny Brown (Nature Tones BPI-002). Die Cut sprig out with coordinating die. Also die cut the same sprig out of vellum.
- LetterPress "Happy Birthday" and "From All Of Us" sentiments on Porcelain Cotton A2 Panel measuring: 4 1/4" x 5 1/2" using Cheers to You Sentiments (BP-162) with Tawny Brown (Nature Tones BPI-002).
- Assemble card.
- Embellish with White Cord and Rhinestones.

Compensated affiliate links used when available. If you place an order after clicking on one of my links, I will receive a small commission at no cost to you. Thank you for your support!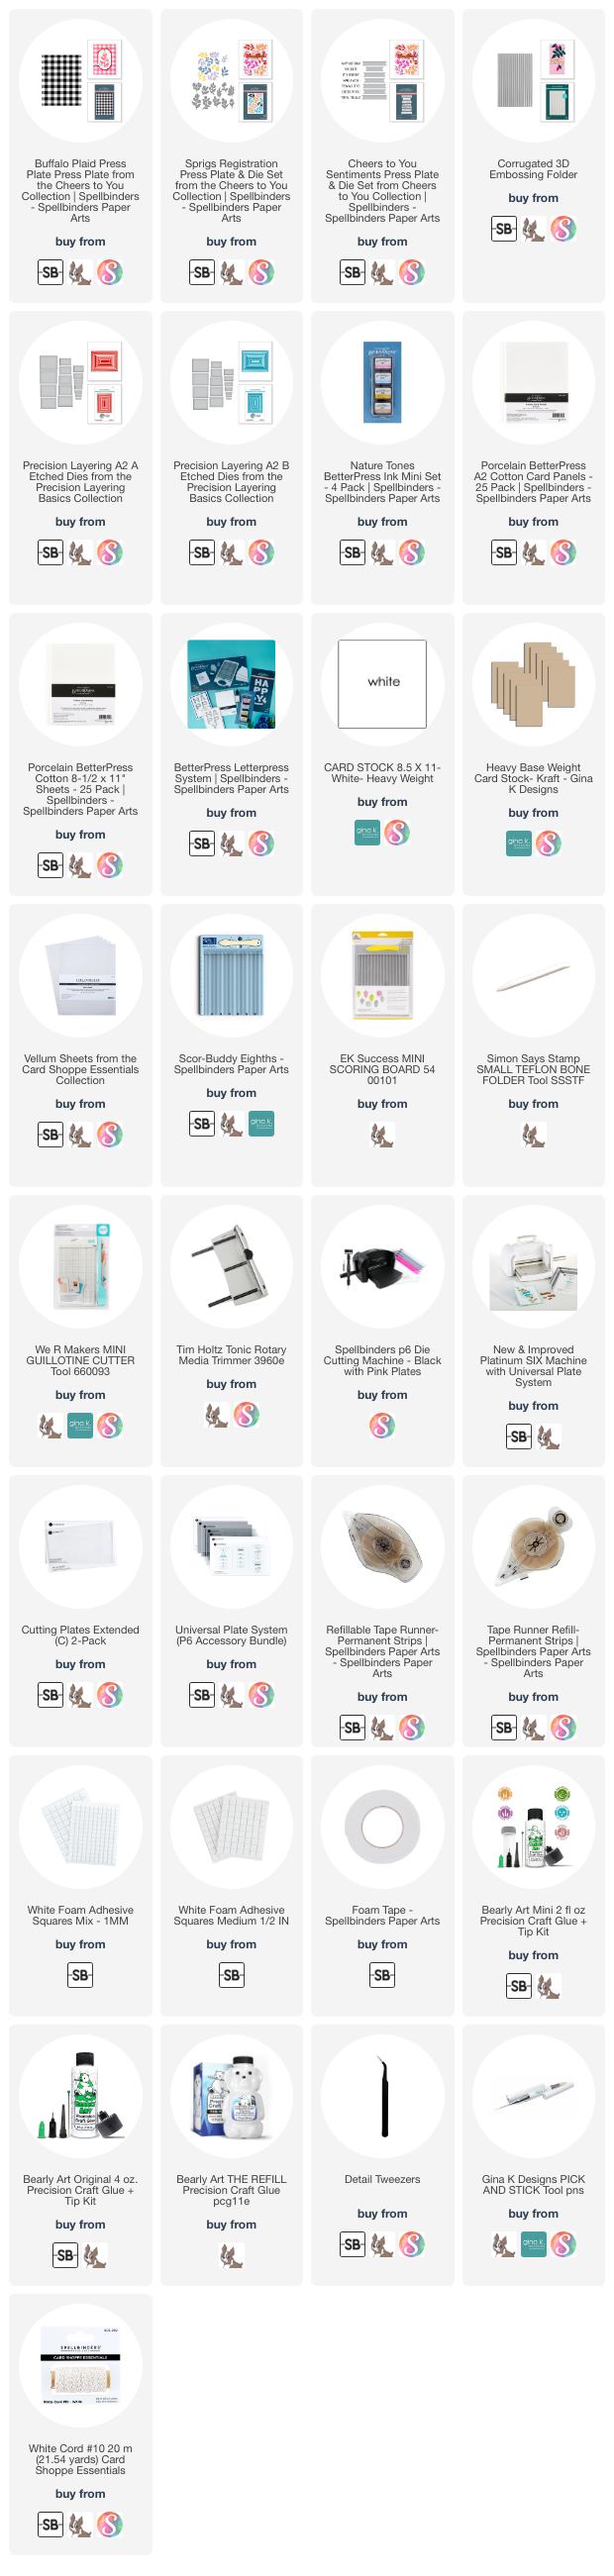
From All of Us

Card Measurements:
White A2 Top Fold Card Base: 4 1/4" x 5 1/2" (4 1/4" x 11", scored at 5 1/2")
White A2 Top Fold Card Base: 4 1/4" x 5 1/2" (4 1/4" x 11", scored at 5 1/2")
Black Mat: 3 7/8" x 5 1/8"
Porcelain Cotton Pressed Panel: 3 3/4" x 5"
White Mirrored Arch Label Frame: 2 1/2" x 3 1/4" (outside edge of frame) and 2" x 2 9/16" (inside edge of frame)
Vellum Mirrored Arch Label: 2 1/2" x 3 1/4"
White Sentiment Strip: 2" x 3/8"
Steps to Create Card:
- Create White A2 Top Fold Card Base measuring: 4 1/4" x 5 1/2" (4 1/4" x 11", scored at 5 1/2").
- Die Cut Black Mat measuring: 3 1/2" x 4 3/4" using Precision Layering A2 B (S5-494).
- Create White Frame using Mirrored Arch Labels (S5-613) to measure: 2 1/2" x 3 1/4" (outside edge of frame) and 2" x 2 9/16" (inside edge of frame).
- Die Cut Vellum Arch Label using Mirrored Arch Labels (S5-613) measuring: 2 1/2" x 3 1/4".
- LetterPress Porcelain Cotton A2 Panel measuring: 4 1/4" x 5 1/2" using Buffalo Plaid (BP-161) with Black (Regal Tones BPI-003). Trim panel to measure: 3 3/8" x 4 5/8" using Precision Layering A2 A (S5-487).
- LetterPress Porcelain Cotton A2 Panel measuring: 4 1/4" x 5 1/2" using Sprigs (BPR-009) with Black (Regal Tones BPI-003). Press 2 sprigs and die cut out with coordinating die.
- LetterPress "From All Of Us" sentiment on Porcelain Cotton A2 Panel measuring: 4 1/4" x 5 1/2" using Cheers to You Sentiments (BP-162) with Black (Regal Tones BPI-003).
- Assemble card.
- Embellish with Black Cord and Sparkling Clear Solid Sequins.

Compensated affiliate links used when available. If you click on one of my links, I will receive a small commission at no cost to you. Thank you for your support!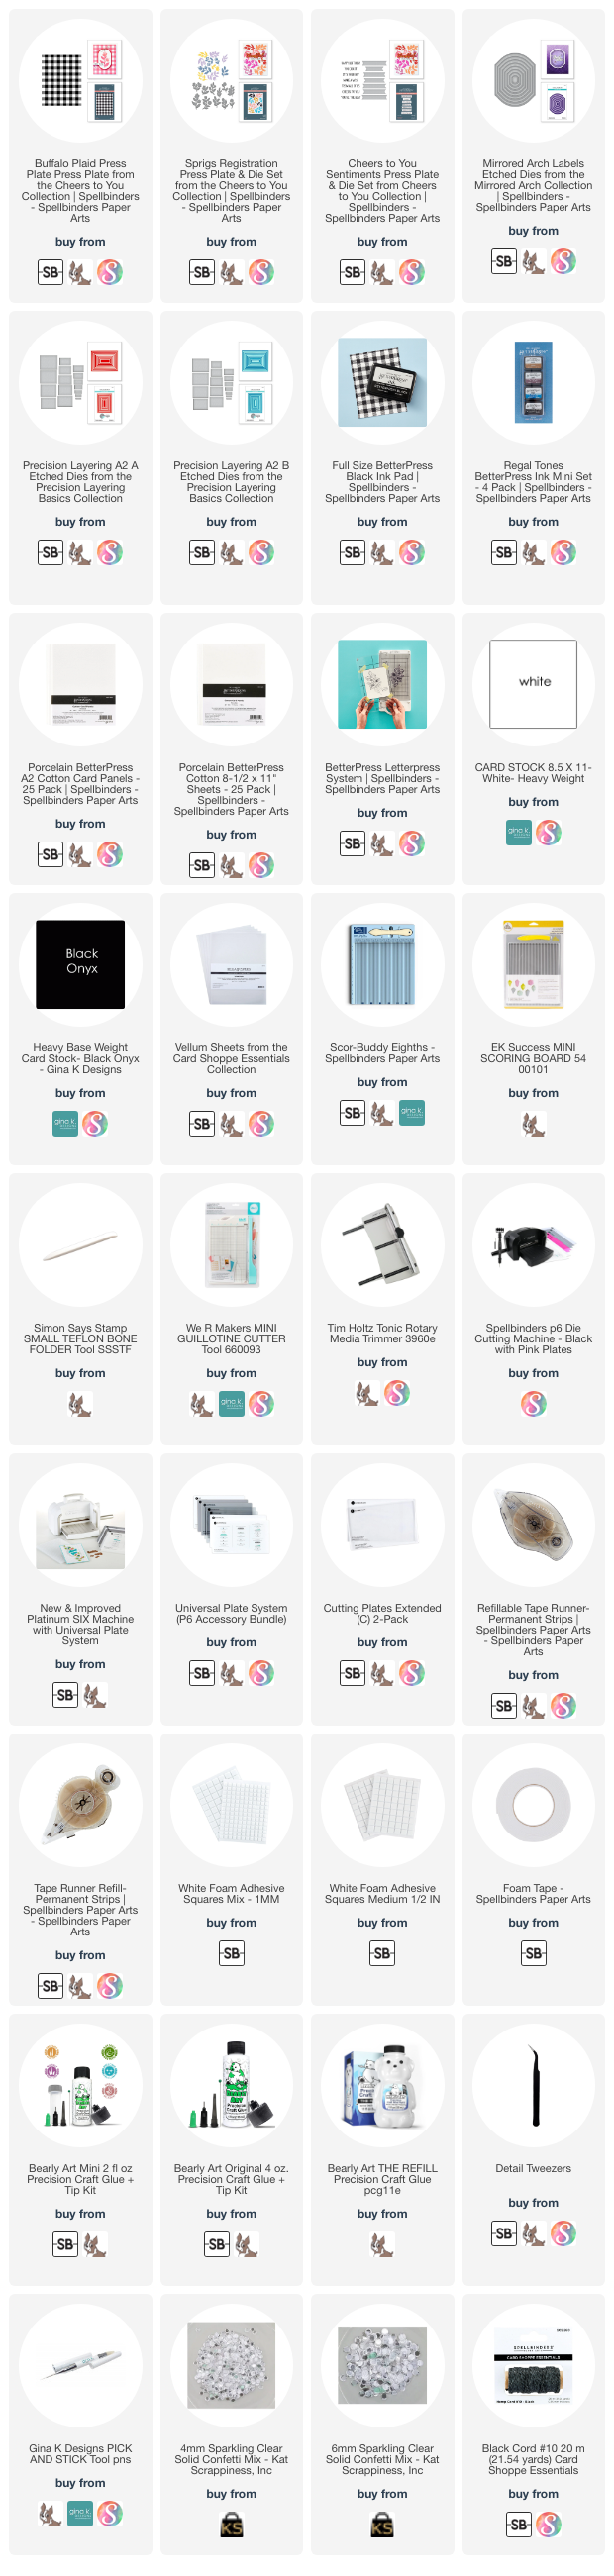 Spellbinders
SpellbindersCheers to You Release
April 2024
Compensated affiliate links used when available. If you place an order after clicking on one of my links, I will receive a small commission at no cost to you. Thank you for your support!
 Happy Stamping!!