PRODUCT LINKS BELOW CONTAIN COMPENSATED AFFILIATE LINKS AT NO COST
Today I'm back with another card featuring products from Spellbinders NEW Essential Holiday Collection by Lisa Horton mashed with a couple products from Simon Hurley's Let It Snow Release last month. I love being able to mix and match collections.
I created a FUN Clear Snowflake card using the NEW Holiday Background Panels (BP-215) and a sentiment from Essential Tags Accessories (BP-214) foiled with Matte Gold Foil (GLF-002). The card base is made from a sheet of Clear Acetate (SCS-119). I also used Frozen Flurries (S5-652) and Layering Snowflakes (S5-651).

Card Measurements:
Acetate Card Base: 4 1/4" x 5 1/2" (4 1/4" x 11", scored at 5 1/2")
White Frozen Flurries Panel: 4 1/4" x 5 1/2"
White Stitched Rectangle - #1: 2 7/16" x 3 5/8"
Foiled Snowflake Stitched Rectangle: 2" x 3 5/16"
Snow Flake: 2 1/8" x 2 1/8"
Foiled Sentiment Strip Tag: 2 3/8" x 3/8"
White Stitched Rectangle (Back of front Panel): 2 7/16" x 3 5/8"
White Stitched Rectangle (Inside Panel): 2 7/16" x 3 5/8"
White Stitched Rectangle (Back of Card): 2 7/16" x 3 5/8"
Steps to Create Card:
- Create Clear Acetate Card Base measuring: 4 1/4" x 5 1/2" (4 1/4" x 11", scored at 5 1/2") using Clear Acetate Sheets (SCS-119). You will want to use a scoring tool and score multiple times before folding as these sheets are very thick.
- Die Cut 4 White Stitched Rectangle measuring: 2 7/16" x 3 5/8" using Nested Tree Frame (S4-1376).
- Take White Panel and Foil the Snowflakes Plate using Holiday Background Panels (BP-215) with Matte Gold Foil (GLF-002). Die Cut Rectangle using Stitched Rectangle measuring: 2" x 3 5/16" using Nested Tree Frame (S4-1376).
- Foil "Merry & Bright" Sentiment using Essential Tag Accessories (BP-214) with Matte Gold Foil (GLF-002). Die Cut Tag using Essential Tags (S4-1375).
- Die Cut White A2 Panel using Frozen Flurries (S5-652) measuring: 4 1/4" x 5 1/2". You will attach to the front of the Clear Acetate Card Base with adhesive. I found that Gina K Dot Runner around the outer edges was not to apparent when viewing the backside of the panel. You can also cut a second panel and adhere to the other side to clean up any adhesive shown.
- Assemble card. Please Note: you will add a White Stitched Rectangle to the back of the front panel, Inside Panel (for your message) and on Back Panel for a clean look
- For Embellishment add Gold Twine Bow on sentiment tag (from stash) and Gold Pearls.

Compensated
affiliate links used when available. If you place an order after
clicking on one of my links, I will receive a small commission at no
cost to you. Thank you for your support!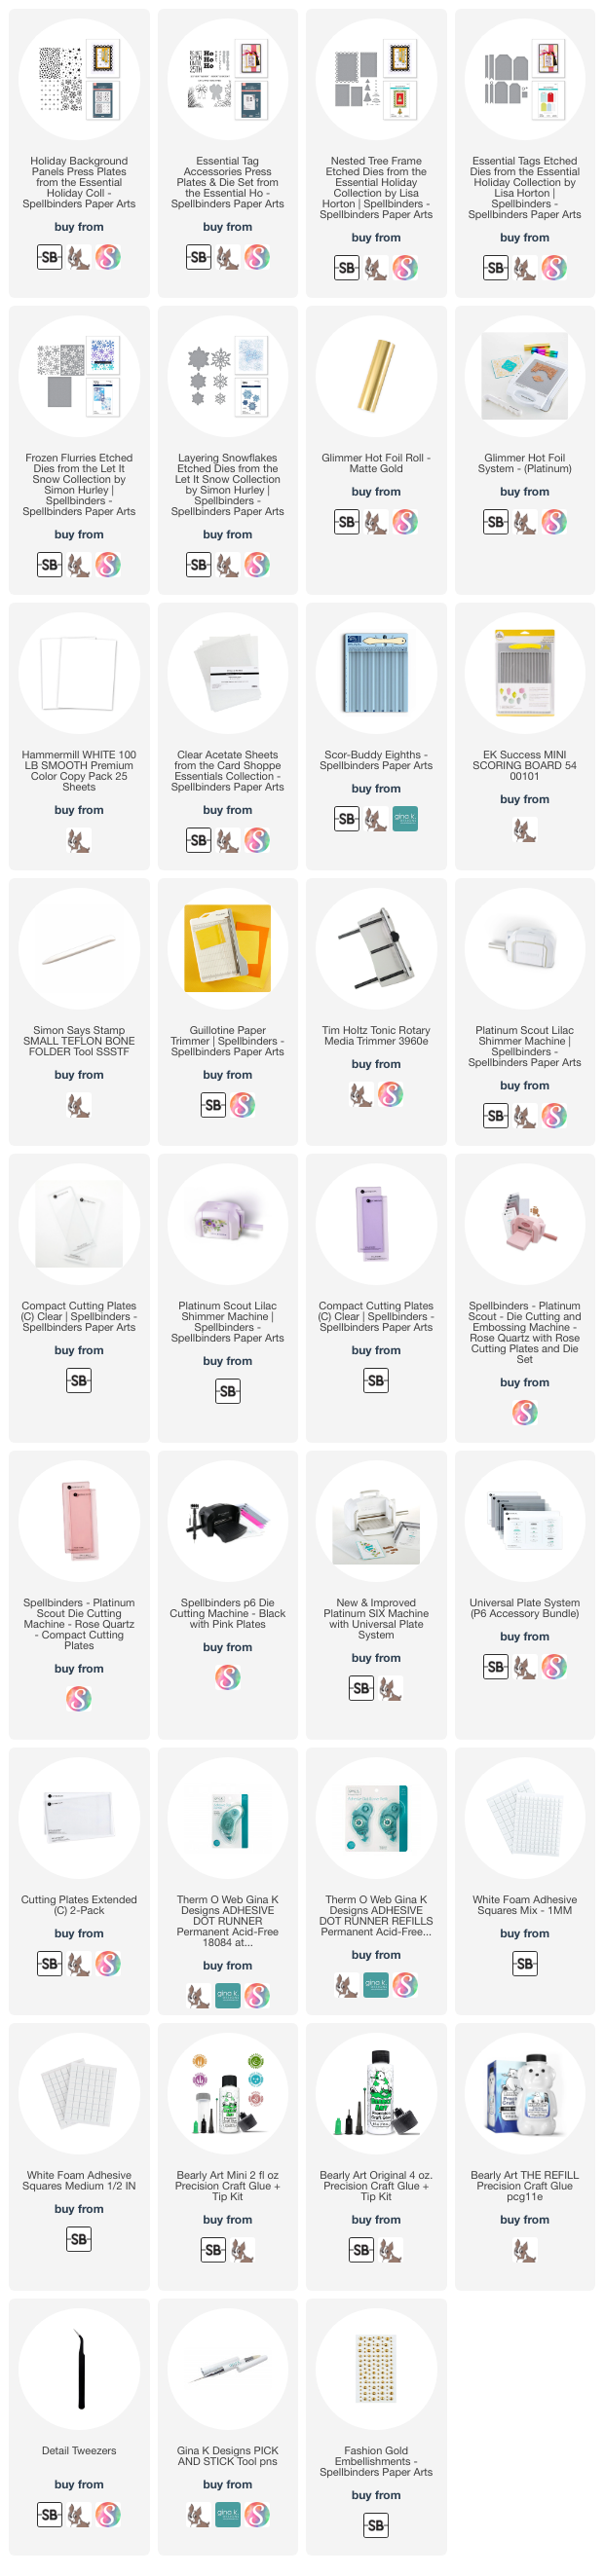 Spellbinders
SpellbindersEssential Holiday Collection by Lisa Horton
Compensated
affiliate links used when available. If you place an order after
clicking on one of my links, I will receive a small commission at no
cost to you. Thank you for your support!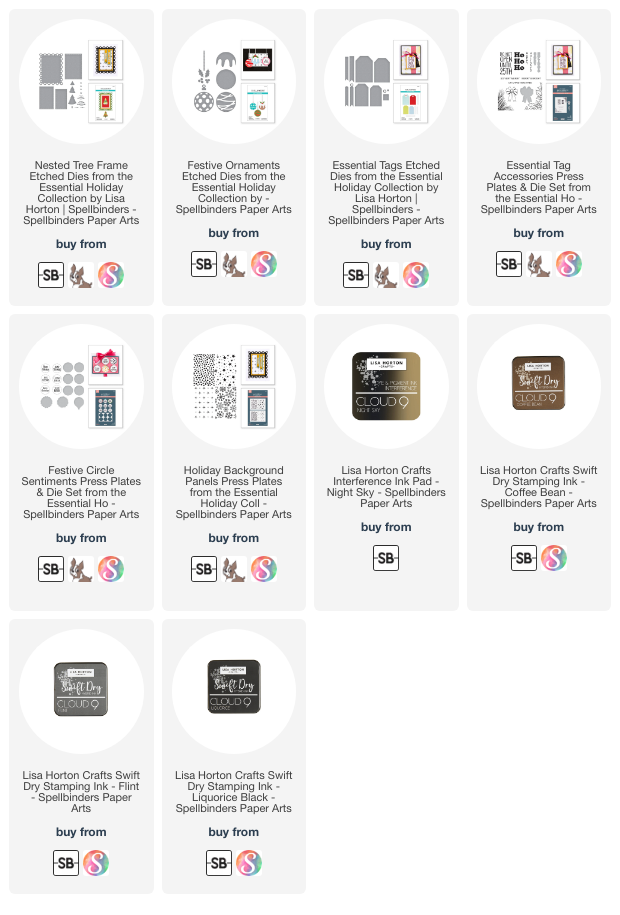 Happy Stamping!!
Happy Stamping!!


No comments:
Post a Comment