
The Gina K. Designs July 2024 Release is NOW available! You can find the FULL release in the store HERE or direct links at the bottom of the post.
I'm
excited to be joining Gina K. Designs for the July 2024 Release! I
have a few cards that I've created to share during tonight's LIVE Release
Party over on the Gina K. Designs Facebook Page, YouTube Channel, and
Twitch.
Before we get started, make sure to check out the NEW Card Kit. It's called The Good Card Kit and it's jammed packed with goodies!!

Please
note a BIG Change that was implemented with the March 2024 Release to
help Gina K with the inventory. Coordinating Die Sets are now ONLY available as a Stamp & Die BUNDLE.
For those that don't use dies you can purchase the stamp set
individually. Make sure to put the correct version in your shopping cart.

 -----
-----


-----
My cards will be featuring the NEW Smiling Blooms stamp set illustrated by Arjitia Singh. This set does have a coordinating Die Set available in the Smiling Blooms Stamp & Die Bundle.


My first card features the NEW Smiling Blooms stamp set along with a mix of Master Layout dies. My coordinating die didn't arrive on time so I fussy cut the image out.

Card Measurements:
White A2 Top Fold Card Base: 4 1/4" x 5 1/2" (4 1/4" x 11", scored at 5 1/2")
Bubblegum Scallop Panel: 3 7/8" x 5" - ML #4
White Stitched Panel: 3 1/4" x 4 3/8" - ML #5
Bubblegum Fancy Circle Frame: 3 1/2" x 5" - ML #12
White Circle: 2 5/8" - ML #12
White Tag: 1 1/2" x 5/8" - Decorative Tag
Copic Markers Used:
Flowers: R81, R83, R85 and YR21, YR24
Leaves: G43, G46
Steps to Create Card:
- Create White A2 Top Fold Card Base measuring: 4 1/4" x 5 1/2" (4 1/4" x 11", scored at 5 1/2").
- Die Cut Bubblegum Scallop panel measuring: 3 7/8" x 5" using Master Layout #4.
- Die Cut White Stitched Panel measuring: 3 1/4" x 4 3/8" using Master Layout #5.
- Die Cut Bubblegum Fancy Circle Frame measuring: 3 1/2" x 5" using Master Layout #12.
- Die Cut White Circle measuring: 2 5/8" using Master Layout #12.
- Die Cut White Tag measuring: 1 1/2" x 5/8" using Decorative Tag die set.
- Stamp floral image using Smiling Blooms with Black ink. Color and die cut or fussy cut out. Add White paint splatters.
- Stamp "Friend" sentiment from Smiling Blooms stamp set onto White Tag.
- Assemble card.
- Embellish with Soft White Pearl Mix, Diamond Stickles (flower centers) and White Twine.

Compensated affiliate links used when available. If you place an order after clicking on one of my links, I will receive a small commission at no cost to you. Thank you for your support!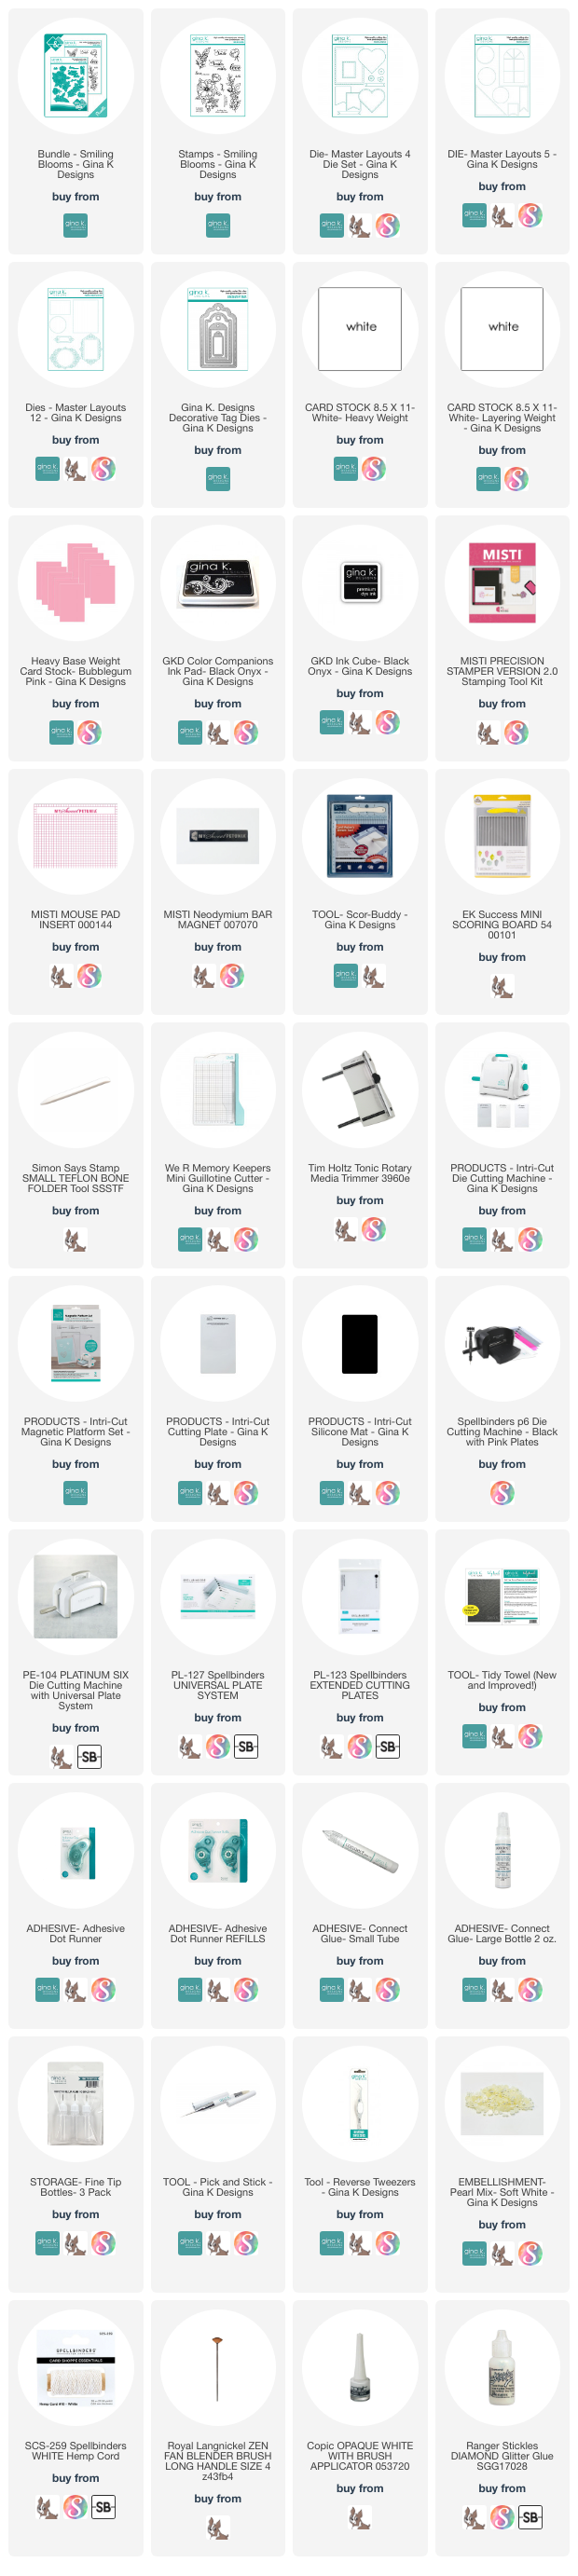
My second card features the NEW Smiling Blooms stamp set with a background panel created with the Gauze Background stamp.

Card Measurements:
White A2 Top Fold Card Base: 4 1/4" x 5 1/2" (4 1/4" x 11", scored at 4 1/4")
Grass Green Panel: 3 3/4" x 5" - Master Layout #1
White Stitched Rectangle: 2 1/4" x 3 3/16" - Master Layout #12
Copic Markers Used:
Flowers: C2 and YR21, YR24
Leaves: G43, G46 Steps to Create Card:
- Create White A2 Top Fold Card Base measuring: 4 1/4" x 5 1/2" (4 1/4" x 11", scored at 4 1/4").
- Take Grass Green A2 Panel measuring: 4 1/4" x 5 1/2" and stamp Gauze Background stamp with Grass Green Ink. Ink blend around panel with Grass Green and Fresh Asparagus ink. Add White and Gold Paint Splatters. Set aside to dry. Once dried, you will use Master Layout #1 to trim panel to measure: 3 3/4" x 5"
- Die Cut White Stitched Rectangle measuring: 2 1/4" x 3 3/16" using Master Layout #12. Add a touch of Grass Green ink to the center by lightly ink blending. Stamp "You Make Me Smile" sentiment from the Smiling Blooms stamp set with Black ink.
- Stamp floral images using Smiling Blooms with Black ink. Color and die cut or fussy cut out. Add Gold paint splatters.
- Assemble card.
- Embellish with Gold Pearls.

Compensated
affiliate links used when available. If you place an order after
clicking on one of my links, I will receive a small commission at no
cost to you. Thank you for your support!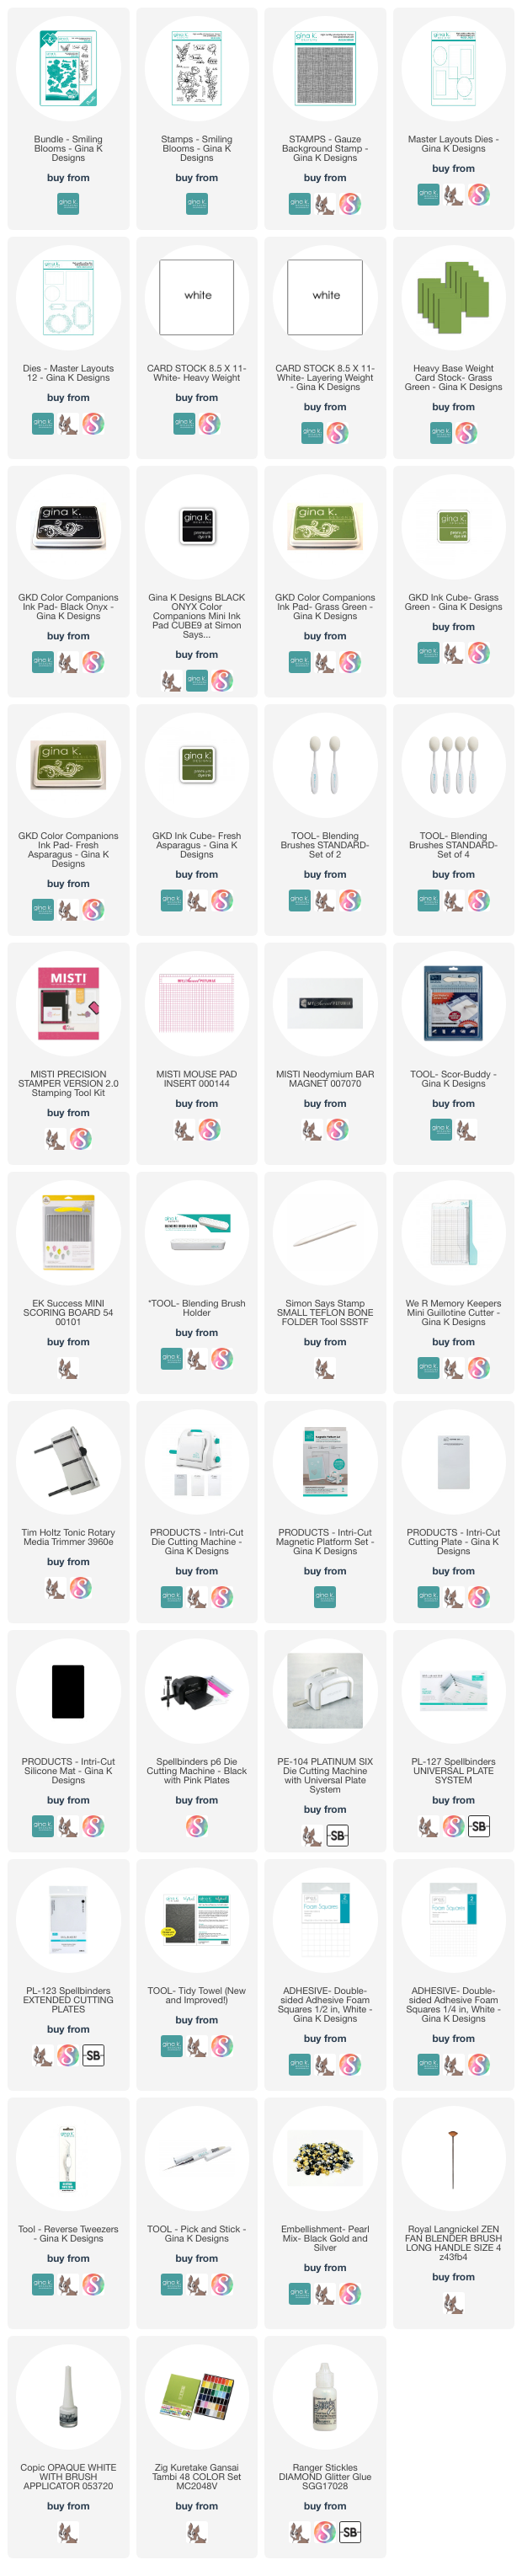
My final card features the NEW Smiling Blooms stamp set along with the previously released Bubble Cover Plate. Love the added texture it adds.

Card Measurements:
White A2 Top Fold Card Base: 4 1/4" x 5 1/2" (4 1/4" x 11", scored at 5 1/2")
Wild Lilac Panel: 3 3/4" x 5" - Master Layout #1
White Bubble Cover Plate: 3 1/2" x 4 3/4"
White Stitched Panel (under cover plate): 3 1/2" x 4 3/4" - Master Layout #2
White Stitched Circle: 2 11/16" - Master Layout #12
Wild Lilac Stitched Strip: 5/8" x 3 3/4" - Master Layout #14
White Sentiment Strip: 2" x 3/4" - Master Layout #14
Copic Markers Used:
Flowers: V15, V17 and YR21, YR24
Leaves: G43, G46
Steps to Create Card:
- Create White A2 Top Fold Card Base Measuring: 4 1/4" x 5 1/2" (4 1/4" x 11", scored at 5 1/2").
- Die Cut Wild Lilac Panel measuring: 3 3/4" x 5" using Master Layout #1.
- Die Cut 2 White Bubble Cover Plate and 1 White Stitched panel measuring: 3 1/2" x 4 3/4" using Master Layout #2. Stack together.
- Die Cut White Stitched Circle measuring: 2 11/16" using Master Layout #12.
- Die Cut Wild Lilac Stitched Strip measuring: 5/8" x 3 3/4" - Master Layout #14.
- Stamp floral images using Smiling Blooms with Black ink. Color and die cut or fussy cut out. Add White paint splatters.
- Stamp "Love & Prayers" sentiment from Smiling Blooms stamp set with Black ink on White card stock and die cut with die from Master Layout #14 and trim to fit.
- Assemble card.
- Embellish with Clear Quartz Sequins.

Compensated
affiliate links used when available. If you place an order after
clicking on one of my links, I will receive a small commission at no
cost to you. Thank you for your support!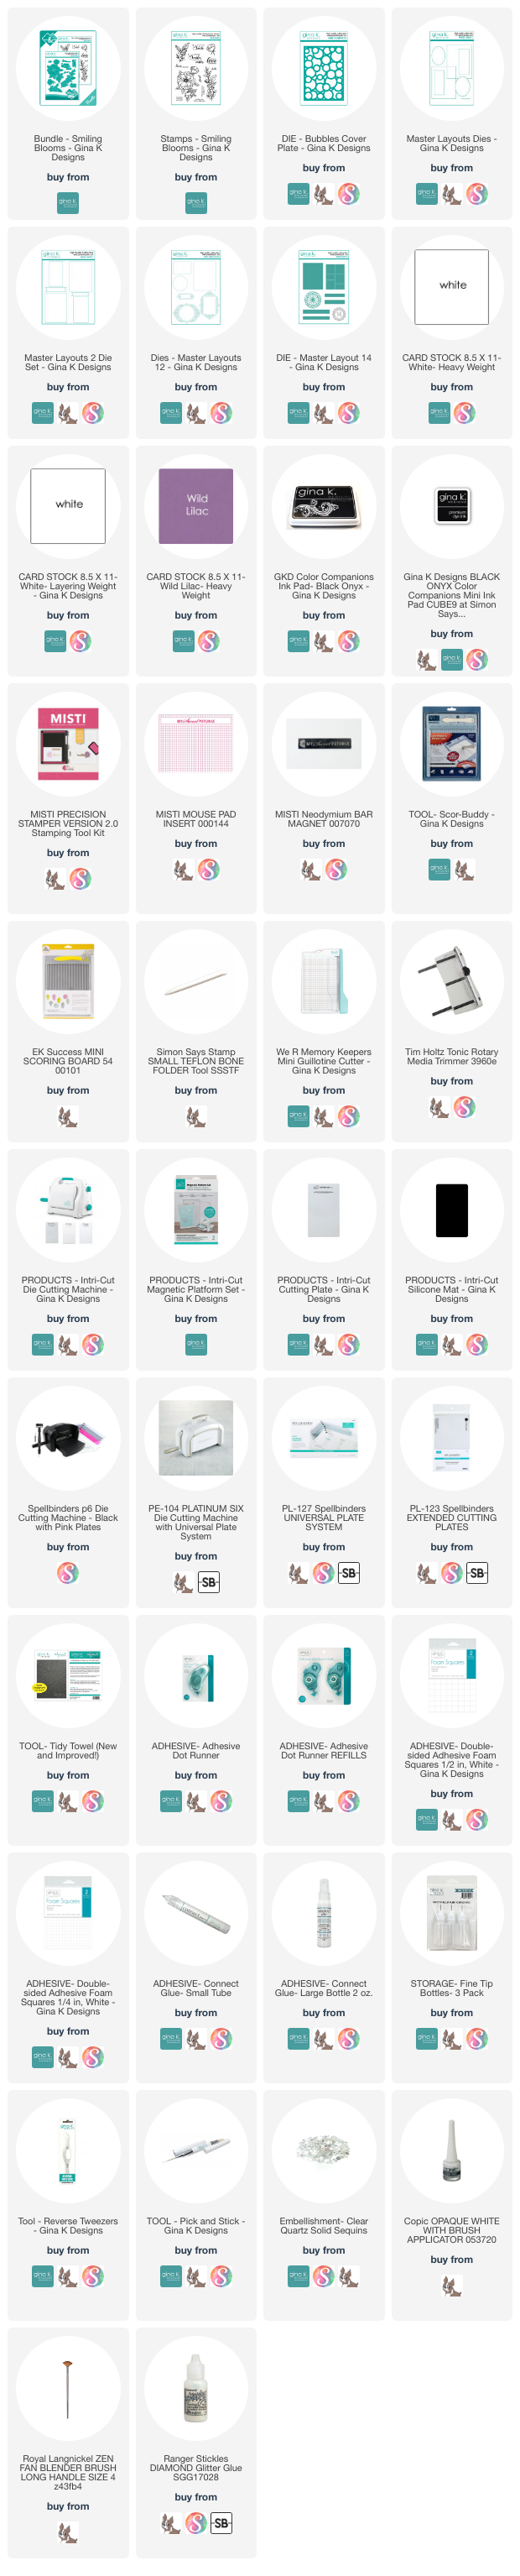
Gina K. Designs
July 2024 Release
Compensated affiliate links used when available. If you place an order after clicking on one of my links, I will receive a small commission at no cost to you. Thank you for your support!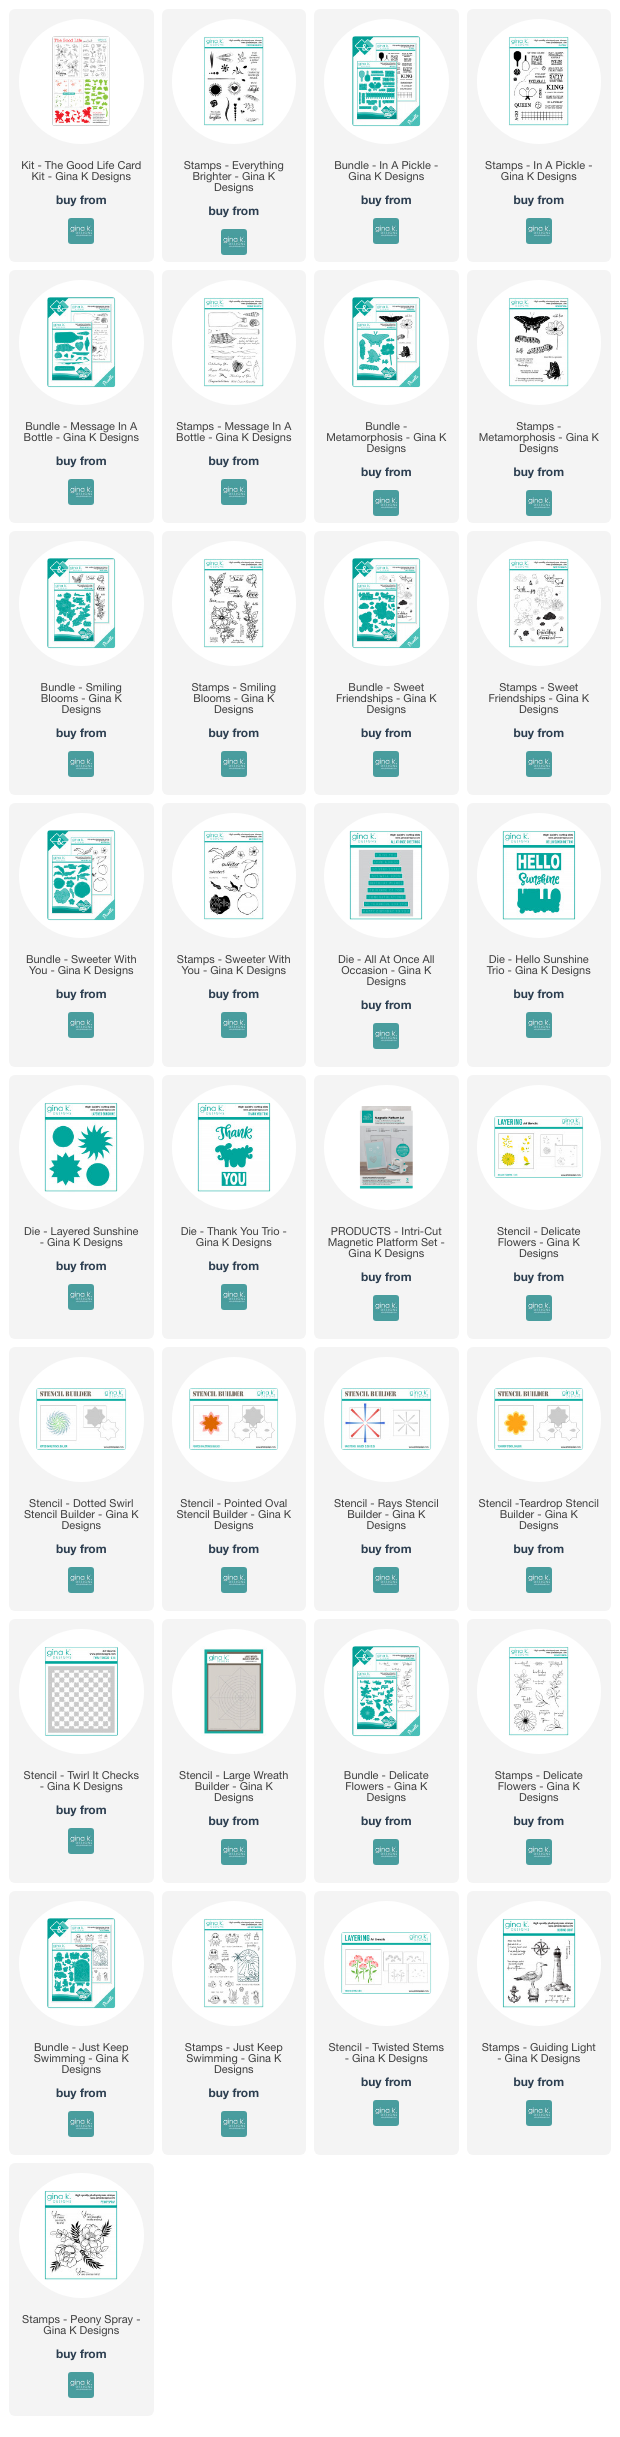 Happy Stamping!!
Happy Stamping!!


No comments:
Post a Comment