
The Gina K. Designs May 2024 Release is NOW available! You can find the FULL release in the store HERE or direct links at the bottom of the post.
I'm
excited to be joining Gina K. Designs for the May 2024 Release! I
have a few cards that I've created to share during tonight's LIVE Release
Party over on the Gina K. Designs Facebook Page, YouTube Channel, and
Twitch.
Before we get started, make sure to check out the NEW Card Kit. It's called Sunny Days Card Kit and it's jammed packed with goodies!!

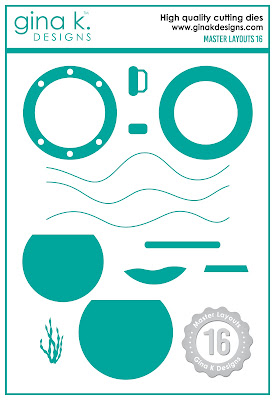
Plus a NEW Master Layout, Master Layouts #16
Please
note a BIG Change that was implemented with the March 2024 Release to
help Gina K with the inventory. Coordinating Die Sets are now ONLY available as a Stamp & Die BUNDLE.
For those that don't use dies you can purchase the stamp set
individually. Make sure to put the correct version in your shopping cart.
-----
My cards will feature the NEW Garden Kitties set illustrated by Hannah Drapinski. This set does have a coordinating Die Set available in the Garden Kitties Stamp & Die Bundle.


My first card features the NEW Garden Kitties Stamp & Die Bundle on an ink blended panel using Master Layouts #1 & 2.

Card Measurements:
Heavy Weight White A2 Card Base: 5 1/2" x 4 1/4" (5 1/2" x 8 1/2", scored at 4 1/4")
Black Onyx Mat: 5" x 3 3/4" - Master Layouts #1
Layering Weight White Panel: 4 7/8" x 3 5/8" - Master Layouts #2
Black Sentiment Strip - Sentiment Strips
Steps to Create Card:
- Create Heavy Weight White A2 Card Base measuring: 5 1/2" x 4 1/4" (5 1/2" x 8 1/2", scored at 4 1/4").
- Die Cut Black Onyx Mat measuring: 5" x 3 3/4" using Master Layouts #1.
- Take Layering Weight White A2 Panel measuring: 4 1/4" x 5 1/2" and ink blend using: Lovely Lavender, Plum Punch and Edible Eggplant ink. Stamp floral silhouette and sentiment from Garden Kitties stamp set in left corner with Black Onyx ink. For best results use a stamp positioner. Die cut panel to measure: 4 7/8" x 3 5/8" using Master Layouts #2.
- Die Cut Kitty with Black Onyx card stock using Garden Kitties coordinating die (You can stamp & die cut but I wanted a solid black kitty).
- Ink blend scrap with Plum Punch ink and use Heart Circle die to create little heart embellishment.
- Stamp & Emboss "Happy Purrthday" sentiment from Garden Kitties stamp set with Embossing ink and heat emboss with Detail White Embossing Powder. Die cut with Sentiment Strips die.
- Assemble card.
- For Embellishment I added a little sparkle to heart with Diamond Stickles.
My second card features the NEW Garden Kitties Stamp & Die Bundle with a CAS (clean & simple) card design.

Card Measurements:
Heavy Weight White A2 Top Fold Card Base measuring: 4 1/4" x 5 1/2" (4 1/4" x 11", scored at 5 1/2")
Blue Denim Mat: 4" x 5 1/4" - Master Layouts #1
Layering Weight White Panel: 3 7/8" x 5 1/8" - Master Layouts #1
Black Sentiment Strip: 1 1/4" x 5/16" - Sentiment Strips
Steps to Create Card:
- Create Heavy Weight White A2 Top Fold Card Base measuring: 4 1/4" x 5 1/2" (4 1/4" x 11", scored at 5 1/2").
- Emboss front of White card base with Gingham Embossing Folder.
- Die Cut Blue Denim Mat measuring: 4" x 5 1/4" using Master Layouts #1.
- Take A2 Layering Weight White Panel and mask top & bottom of panel leaving a 2 3/4" opening with Masking Magic. Ink blend with Blue Denim and Tranquil Teal. Before removing masks, stamp floral silhouette from Garden Kitties stamp set with Black Onyx ink. For best results use a stamp positioner and add White Paint Splatters. Die cut panel to measure: 3 7/8" x 5 1/8" using Master Layouts #1.
- Die Cut Kitty with Black Onyx card stock using Garden Kitties coordinating die (You can stamp & die cut but I wanted a solid black kitty).
- Stamp & Emboss "Missing You" sentiment from Garden Kitties stamp set with Embossing ink and heat emboss with Detail White Embossing Powder. Die cut with Sentiment Strips die.
- Assemble Card
My third card features the a Pet Sympathy design featuring the NEW Garden Kitties Stamp & Die Bundle.

Card Measurements:
Heavy Weight White A2 Top Fold Card Base: 4 1/4" x 5 1/2" (4 1/4" x 11", scored at 5 1/2")
Heavy Weight White Panel: 3 7/8" x 5 1/8" - Master Layouts #1
Rainbow Strips: 2 3/16" x 5 1/8" (3/8" x 5 1/8" strips: Red Hot, Tangerine Twist, Wild Dandelion, Grass Green, Blue Denim & Wild Lilac)
Red Hot Heart: 3 5/8" x 3 1/4" - Master Layouts # 4
Black Onyx Kitty: 2 1/8" x 1 7/8"
Black Sentiment Strips: 1 5/8" x 1/4" and 1 11/16" x 3/4"
Steps to Create Card:
- Create Heavy Weight White A2 Top Fold Card Base measuring: 4 1/4" x 5 1/2" (4 1/4" x 11", scored at 5 1/2").
- Die Cut Heavy Weight White Panel measuring: 3 7/8" x 5 1/8" using Master Layouts #1.
- Cut Strips measuring: 3/8" x 5 1/8" with Red Hot, Tangerine Twist, Wild Dandelion, Grass Green, Blue Denim and Wild Lilac card stock.
- Die Cut Red Hot Heart measuring: 3 5/8" x 3 1/4" using Master Layouts # 4.
- Die Cut Black Onyx Kitty using Garden Kitties Stamp & Die Bundle.
- Stamp three small butterflies using Garden Kitties Stamp & Die Bundle with Black Onyx ink on the Red Hot Heart.
- Stamp & Emboss "Friends Fur-ever" & "Sending Lots of Love" sentiments from Garden Kitties Stamp & Die Bundle with Embossing ink and heat emboss with Detail White Embossing Powder. Trim to sentiment strips.
- Assemble card.

Compensated affiliate links used when available. If you place an order after clicking on one of my links, I will receive a small commission at no cost to you. Thank you for your support!
Gina K. Designs
May 2024 Release
Compensated affiliate links used when available. If you place an order after clicking on one of my links, I will receive a small commission at no cost to you. Thank you for your support!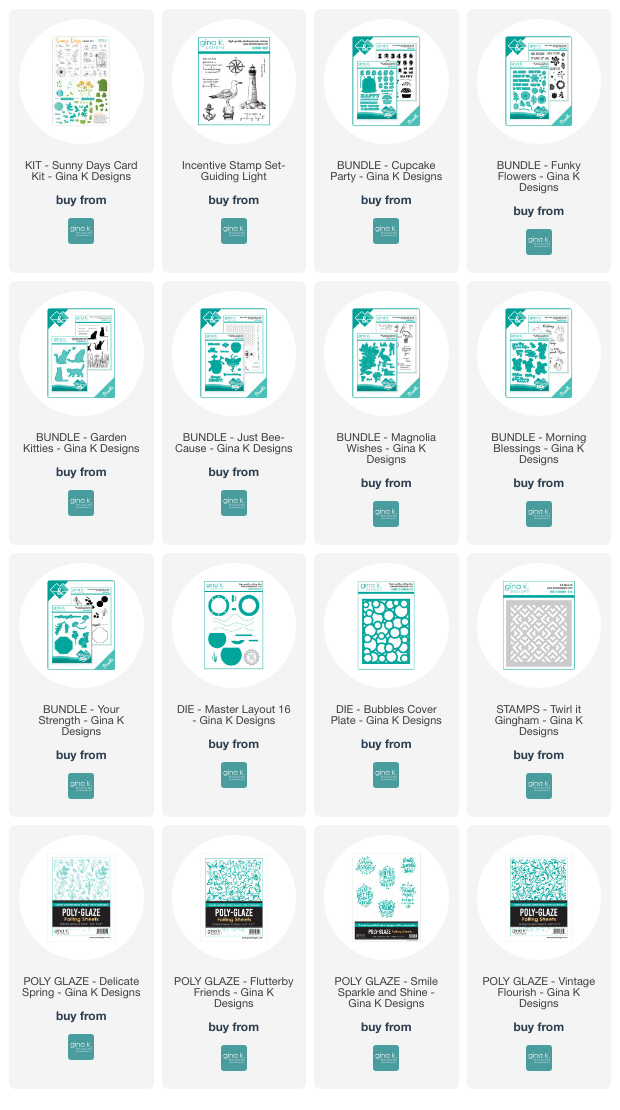 Happy Stamping!!
Happy Stamping!!


No comments:
Post a Comment