
The Gina K. Designs March 2024 Release is NOW available! You can find the FULL release in the store HERE or direct links at the bottom of the post.
I'm
excited to be joining Gina K. Designs for the March 2024 Release! I
have a few cards that I've created to share during tonight's LIVE Release
Party over on the Gina K. Designs Facebook Page, YouTube Channel, and
Twitch.
Before we get started, make sure to check out the NEW Card Kit. It's called Spring Celebrations Card Kit and it's jammed packed with goodies!!

I also want to note a BIG Change to help Gina K with the inventory. Coordinating Die Sets are now ONLY available as a Stamp & Die BUNDLE. For those that don't use dies you can purchase the stamp set individually.
My first card features the NEW Ice Cream Social stamp set illustrated by the brand new illustrator, Dina Gerner. I stamped and colored the sweet image with Copic Markers and fussy cut them out. Dies are available in the Ice Cream Social Stamp & Die Bundle.

Card Measurements:
White A2 Top Fold Card Panel: 4 1/4" x 5 1/2" (4 1/4" x 11", scored at 5 1/2")
Kraft Mat: 3 7/8" x 5 1/8" - ML #1
Stitched Innocent Pink/Ink Blended Panel: 3 3/4" x 4 15/16" - ML #14
Kraft Rectangle Mat:2 3/8" x 4 1/8" - ML #2
Stitched Innocent Pink/Ink Blended Rectangle Panel: 2 1/4" x 4" - ML #2
Kraft Stitched Strip: 3 3/4" x 5/8" - ML #14
Kraft Circle Mat: 2 1/2"
White Stitched Circle: 2 3/8" - Single Stitched Circles
Red Hot Hearts: 3/4" - Double Stitched Circles
Copic Used:
Mouse: W0, W1, W2, W3, W4, W5 and R00 (Cheeks)
Shirt: Red R24, R27, R29 and Pink: R81, R83, R85
Ice Cream Cone: R81, R83, E35
Steps to Create Card:
- Create White A2 Top Fold Card Base measuring: 4 1/4" x 5 1/2" (4 1/4" x 11", scored at 5 1/2").
- Die Cut Kraft Mat measuring: 3 7/8" x 5 1/8" using Master Layout #1.
- Die Cut Kraft Rectangle Strip Mat measuring 2 3/8" x 4 1/8" using Master Layout #2.
- Die Cut Kraft Stitched Strip measuring: 3 3/4" x 5/8" using Master Layout #14.
- Die Cut Kraft Circle Mat measuring: 2 1/2" using nested circle die set.
- Die Cut White Stitched Circle measuring: 2 3/8" using Single Stitched Circles set.
- Die Cut 3 Red Hot Hearts measuring: 3/4" from the Double Stitched Circles set.
- Cut A2 Innocent Pink Panel measuring: 4 1/4" x 5 1/2" to ink blend and create your background and Rectangle Panel. Using a combination of Distress Oxide Worn Lipstick, Festive Berries and Candied Apple. You will then use the Heartfelt Stencil with the Candied Apple. Spritz with water to add texture. You can also add a little Gina K. Designs Red Velvet and Charcoal Brown. Play until you get you panel as you desire. Once completed add White Paint Splatter and set aside to dry.
- Stamp images from Ice Cream Social set to color with Amalgam Obsidian or Black Onyx and color with your favorite Coloring Medium. I used Copic Markers (see list above). Die Cut or Fussy Cut image out. I added Glossy Accents to the little Ice Cream cone.
- Die Cut ink blended panel with the large stitched panel from Master Layout #14. Then carefully place and die cut the small stitched rectangle from Master Layout #2. Make sure it is in the place you want it and the mat will cover up where you cut it from the panel.
- Assemble card.
- Embellish with Red Rhinestones.

Compensated affiliate links used when available. If you place an order after clicking on one of my links, I will receive a small commission at no cost to you. Thank you for your support!
My next card is a CAS (clean and simple) design featuring the NEW Ice Cream Social stamp set along with the Swiss Dots Embossing Folder. The strips were cut with Master Layout 8.

Card Measurements:
White A2 Top Fold Card Base: 4 1/4" x 5 1/2" (4 1/4" x 11", scored at 5 1/2")
White Embossed Panel: 3 5/8" x 4 7/8"
Bubblegum & Passionate Pink Strips: 3 3/4" x 1/4" and Bottom Strip: 3 3/4" x 3/16
Bubblegum & Passionate Pink Strips: 3 3/4" x 1/4" and Bottom Strip: 3 3/4" x 3/16
Passionate Pink Circle Mat: 2 1/2"
White Stitched Circle: 2 3/8"
Copic Markers Used:
Mouse: W0, W1, W2, W3, W4 & R00 (Cheeks)
Dress/Flowers: R81, R83, R85, RV17 and T0, Y15, YG67
Drink: E34, E35, E37
Steps to Create Card:
- Create White A2 Top Fold Card Base measuring: 4 1/4" x 5 1/2" (4 1/4" x 11", scored at 5 1/2").
- Cut White Panel measuring: 3 5/8" x 4 7/8". Partial emboss panel with Swiss Dots Embossing Folder. Leave the bottom 1 1/2" of the card free to stamp sentiment.
- Die Cut strips using Master Layout 8 with Bubblegum & Passionate Pink card stock. You will need to cut the bottom strip by hand to measure: 3 3/4" x 3/16". To make it easier cut strips longer than your panel and you can trim down after they are glued down.
- Die Cut Passionate Pink Circle Mat measuring: 2 1/2" with Nesting Circle die set.
- Die Cut White Stitched Circle measuring: 2 3/8" using the Single Stitched Circle die set.
- Stamp mouse image from Ice Cream Social stamp set with Black Obsidian Amalgam or Black Onyx ink and color with coloring medium of your choice. I used Copic Markers (see list above). Die Cut with coordinating die or fussy cut out.
- Stamp sentiment from Ice Cream Social stamp set with Black Obsidian Amalgam or Black Onyx ink.
- Assemble card.
- Embellish with Pink Rhinestones and Glossy Accents on the top of the Iced Coffee Treat.

Compensated affiliate links used when available. If you place an order after clicking on one of my links, I will receive a small commission at no cost to you. Thank you for your support!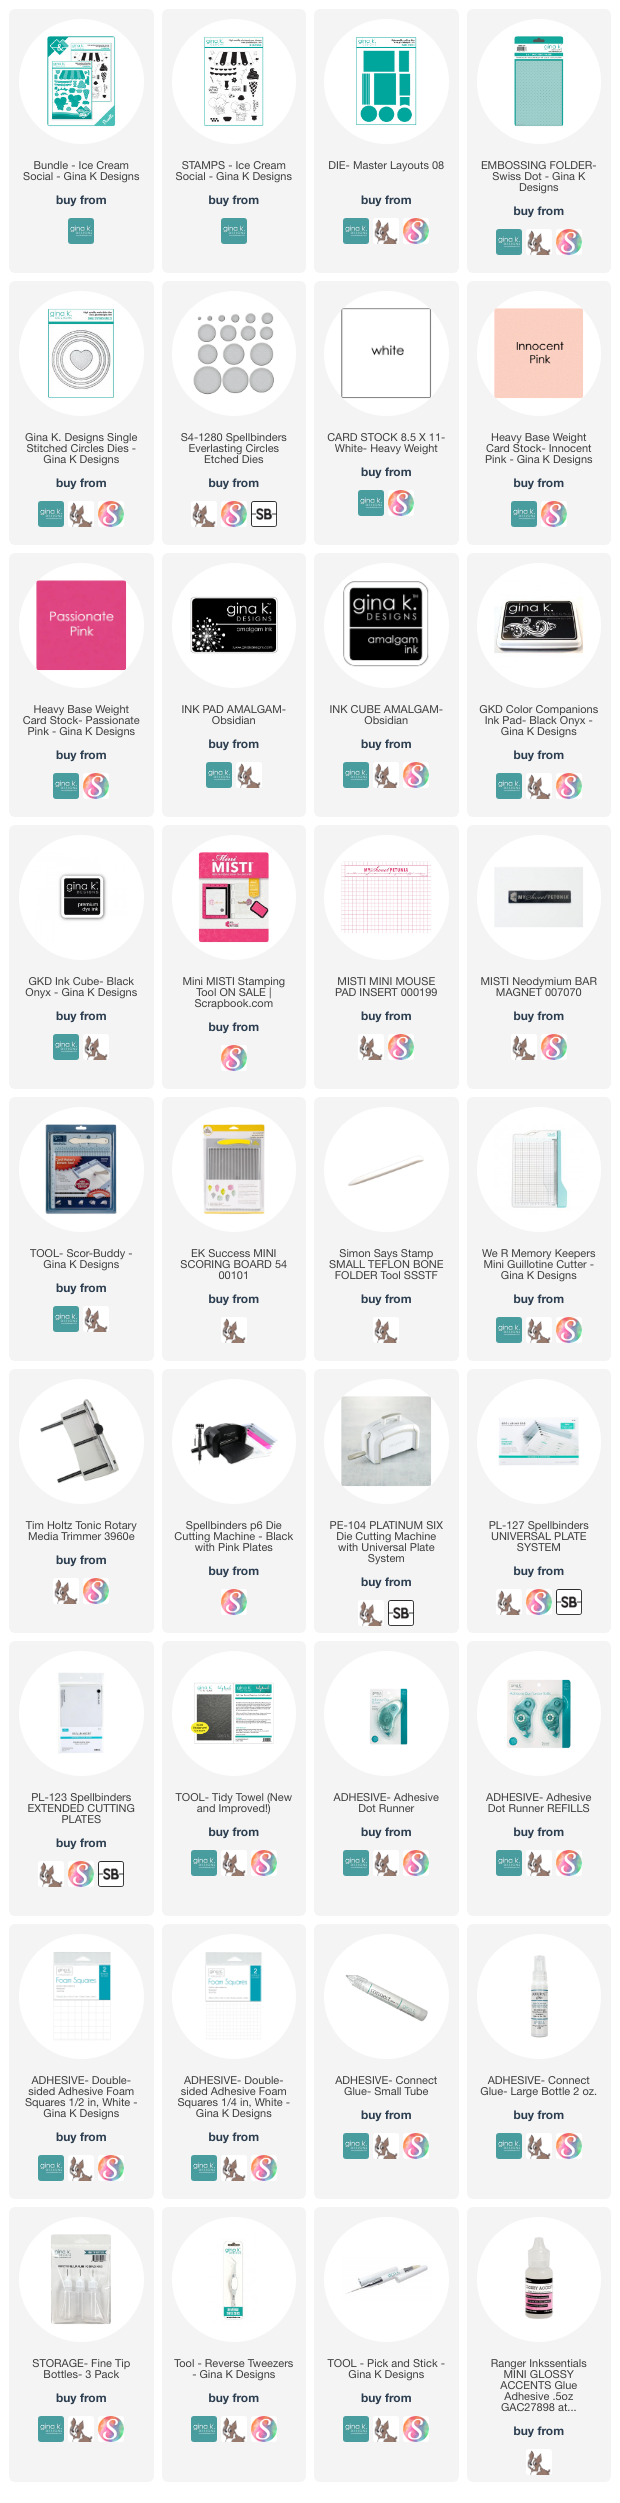
My final card features the NEW On the Inside-Birthday stamp set. I paired it with the Layered Carnations Stencil which is also now available for purchase. I also show a look at how I used a sentiment in the inside.

Card Measurements:
White A2 Top Fold Card Base: 4 1/4" x 5 1/2" (4 1/4" x 11", scored at 5 1/2")
Lovely Lavender A2 Panel: 4 1/4" x 5 1/2"
Plum Punch Mat: 3 3/4" x 5" - ML #1
White Panel: 3 5/8" x 4 7/8" - ML #2
*Stencil the Layered Carnations with the Layered Carnations Stencil using Lovely Lavender, Plum Punch, Jelly Bean Green and Fresh Asparagus ink. Next stamp the sentiment in Black ink directly onto the card panel and mask with a post-it note to add White Paint Splatter for some added texture. Embellish with Clear Quartz Sequins.

Plum Punch Mat: 3 3/4" x 5" - ML #1
White Panel: 3 5/8" x 4 7/8" - ML #2
Plum Punch Strip:3 5/8" x 3/16"
Lovely Lavender Strip: 3 5/8" x 1/2"
*Lightly stencil a single carnation and stamp sentiment in Black ink.

Compensated affiliate links used when available. If you place an order after clicking on one of my links, I will receive a small commission at no cost to you. Thank you for your support!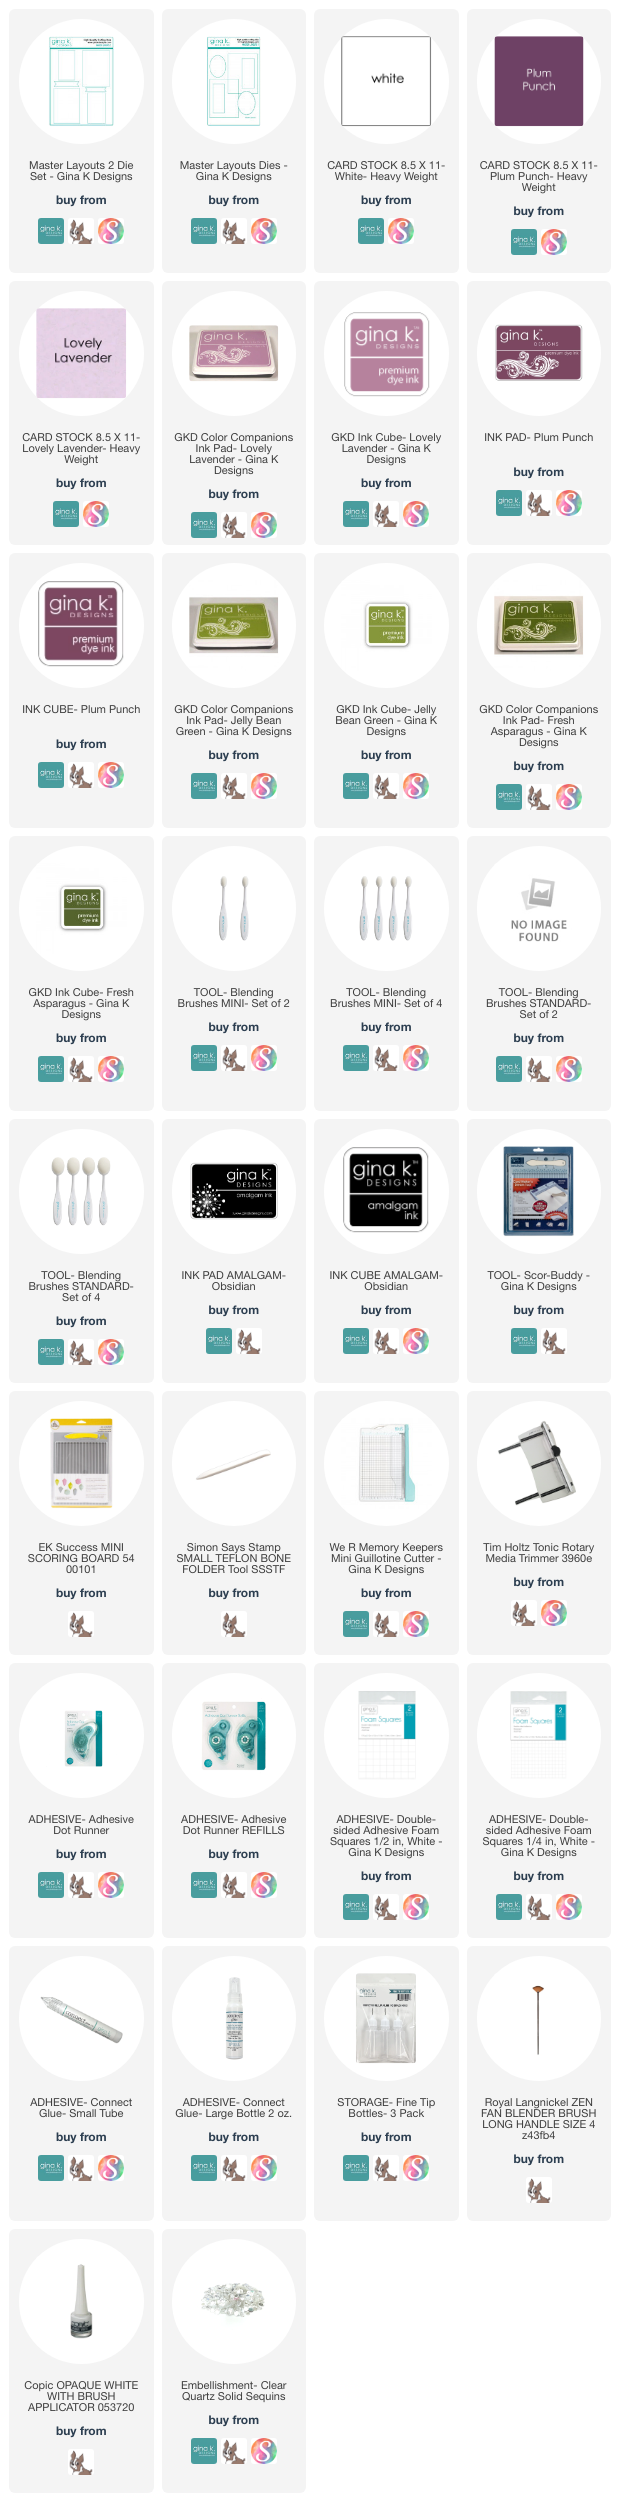
Gina K. Designs
March 2024 Release
Compensated affiliate links used. If you place an order after clicking on one of my links, I will receive a small commission at no cost to you. Thank you for your support!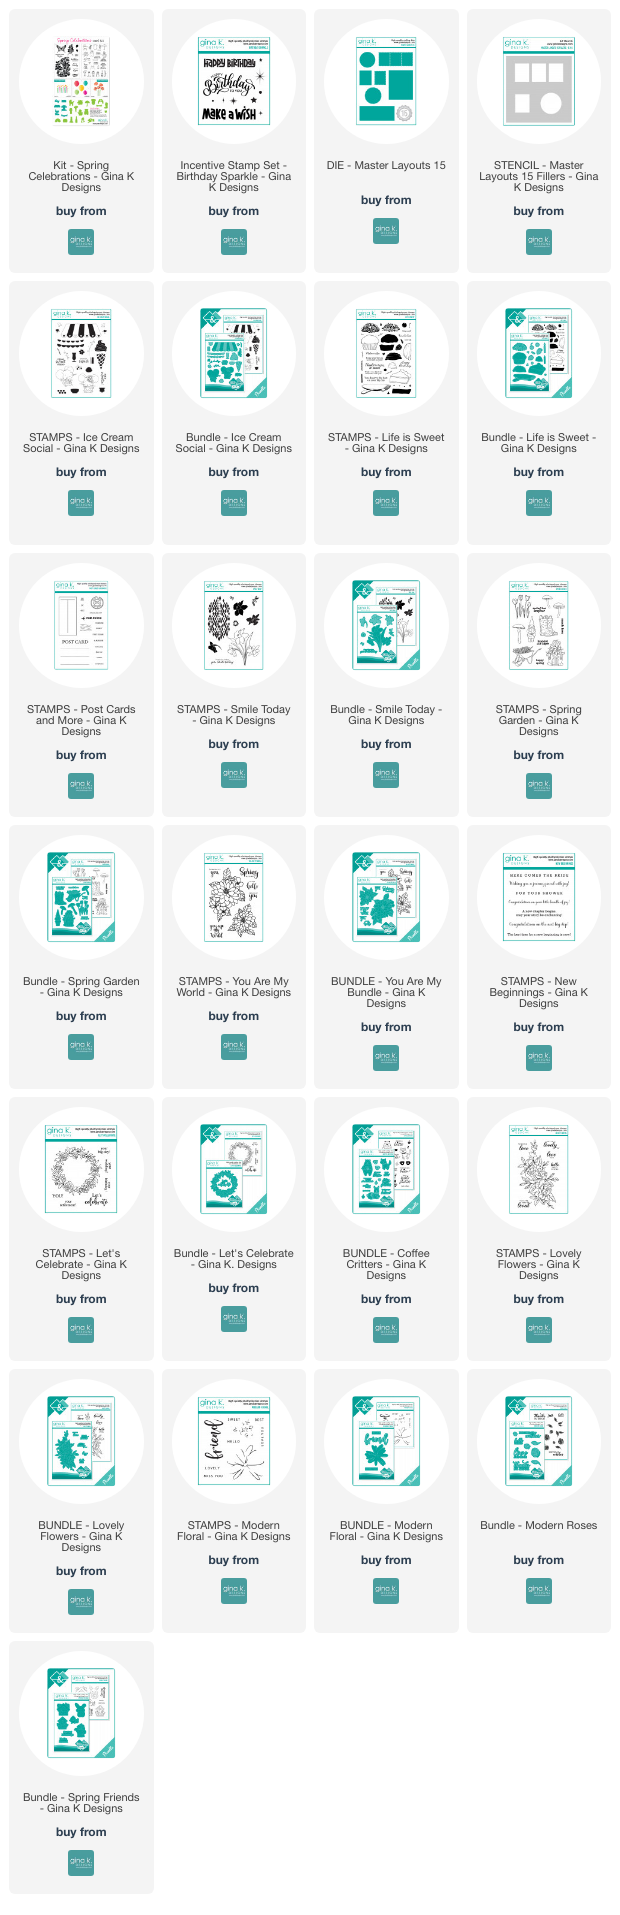 Happy Stamping!!
Happy Stamping!!


No comments:
Post a Comment