PRODUCT LINKS BELOW CONTAIN COMPENSATED AFFILIATE LINKS AT NO COST
Today I'm back with two more cards featuring Spellbinders NEW super cute Monster Birthday Collection.
My first card features the NEW Birthday Dinosaur (S3-498), Make A Wish Labels (S5-619) and Monster Birthday Sentiments (STP-221).

Card Measurements:
White A2 Top Fold Card Base: 4 1/4" x 5 1/2" (4 1/4" x 11", scored at 5 1/2")
Strip Pattern Paper Panel: 4 1/4" x 5 1/2"
Tranquil Teal Make A Wish Label: 3 1/4" x 4 1/16"
White Make A Wish Label: 2 1/2" x 3 3/8"
Jelly Bean Green Sentiment Strip: 3 1/16" x 3/8"
Steps to Create Card:
- Create White A2 Top Fold Card Base measuring: 4 1/4" x 5 1/2" (4 1/4" x 11", scored at 5 1/2").
- Die Cut striped A2 panel using Precision Layering A2 A (S5-487) measuring: 4 1/4" x 5 1/2" with MFT Party Time 6x6 pad.
- Die Cut Label using Make A Wish (S5-619) measuring: 3 1/4" x 4 1/16" with Tranquil Teal card stock.
- Die Cut Label using Make A Wish (S5-619) measuring: 2 1/2" x 3 3/8" with White card stock. Add a little ink blending to center using GKD Sea Glass ink.
- Die Cut Dinosaur using Birthday Dinosaur (S3-498) with White, Black (Eye & Eyelash), Jelly Bean Green (Head Piece) Card Stock. Ink blend pieces with GKD Sea Glass, Tranquil Teal, Sweet Corn and Jelly Bean Green. Next assemble Dinosaur.
- Stamp sentiment from Monster Birthday Sentiments (STP-221) on a piece of Jelly Bean Green card stock with Fresh Asparagus ink. Trim to sentiment strip measuring: 3 1/16" x 3/8".
- Embellish with Rhinestones, Crystal Stars and Crystal Stickles on the Dinosaur body.

Compensated affiliate links used when available. If you place an order after clicking on one of my links, I will receive a small commission at no cost to you. Thank you for your support!
My second card features the NEW Dancin' Birthday Dragon (S3-497), Smart Glasses (S2-379), Monster Birthday Sentiments (STP-221).

Card Measurements:
White A2 Top Fold Card Base: 4 1/4" x 5 1/2" (4 1/4" x 11", scored at 5 1/2")
Stripe Pattern Paper Panel: 3 15/16" x 5 1/4"
Tranquil Teal Scallop Border Strip: 1" x 5 1/4"
Sea Glass Border Mat: 2 1/4" x 5 1/4"
Yellow Pattern Paper Border Strip: 2 1/8" x 5 1/4"
Tranquil Teal Rectangle Mat: 2 5/8" x 3 7/8"
White Rectangle Panel: 2 1/2" x 3 3/4"
Steps to Create Card:
- Create White A2 Top Fold Card Base measuring: 4 1/4" x 5 1/2" (4 1/4" x 11", scored at 5 1/2").
- Die Cut Striped Pattern Paper Panel using Precision Layering A2 A (S5-487) measuring: 3 15/16" x 5 1/4" with MFT Party Time 6x6 paper pad.
- Die Cut Scalloped Border Strip using Basic Borders (S6-206) with Tranquil Teal card stock. Trim to be: 1" x 5 1/4".
- Cut Border Mat measuring: 2 1/4" x 5 1/4" with Sea Glass card stock.
- Cut Yellow Pattern Paper Strip measuring: 2 1/8" x 5 1/4" with MFT Birthday Brights 6x6 paper pad.
- Die Cut Rectangle using Precision Layering A2 B (S5-494) measuring: 2 5/8" x 3 7/8" with Tranquil Teal card stock.
- Die Cut Rectangle panel using Precision Layering A2 A (S5-487) measuring: 2 1/2" x 3 3/4" with White card stock.
- Take White Rectangle Measuring: 2 1/2" x 3 3/4" and stamp sentiment from Monster Birthday Sentiments (STP-221) with Black ink. Lightly ink blend top of rectangle with GKD Sea Glass ink.
- Die Cut Dancin' Birthday Dragon (S3-497) and Smart Glasses (S2-379) with Sea Glass (Body), Tranquil Teal (Wings), White (Eyes/Present), Black (Eyes/Wing Detail/Hands/Glasses) and Gold Glitter Foam (crown and bow on present. Add ink blending to body with Tranquil Teal ink. Assemble Dragon and add white highlights with white gel pen or paint pen.
- Assemble Card.
- For embellishment add twine and enamel dots.

Compensated affiliate links used when available. If you place an order after clicking on one of my links, I will receive a small commission at no cost to you. Thank you for your support!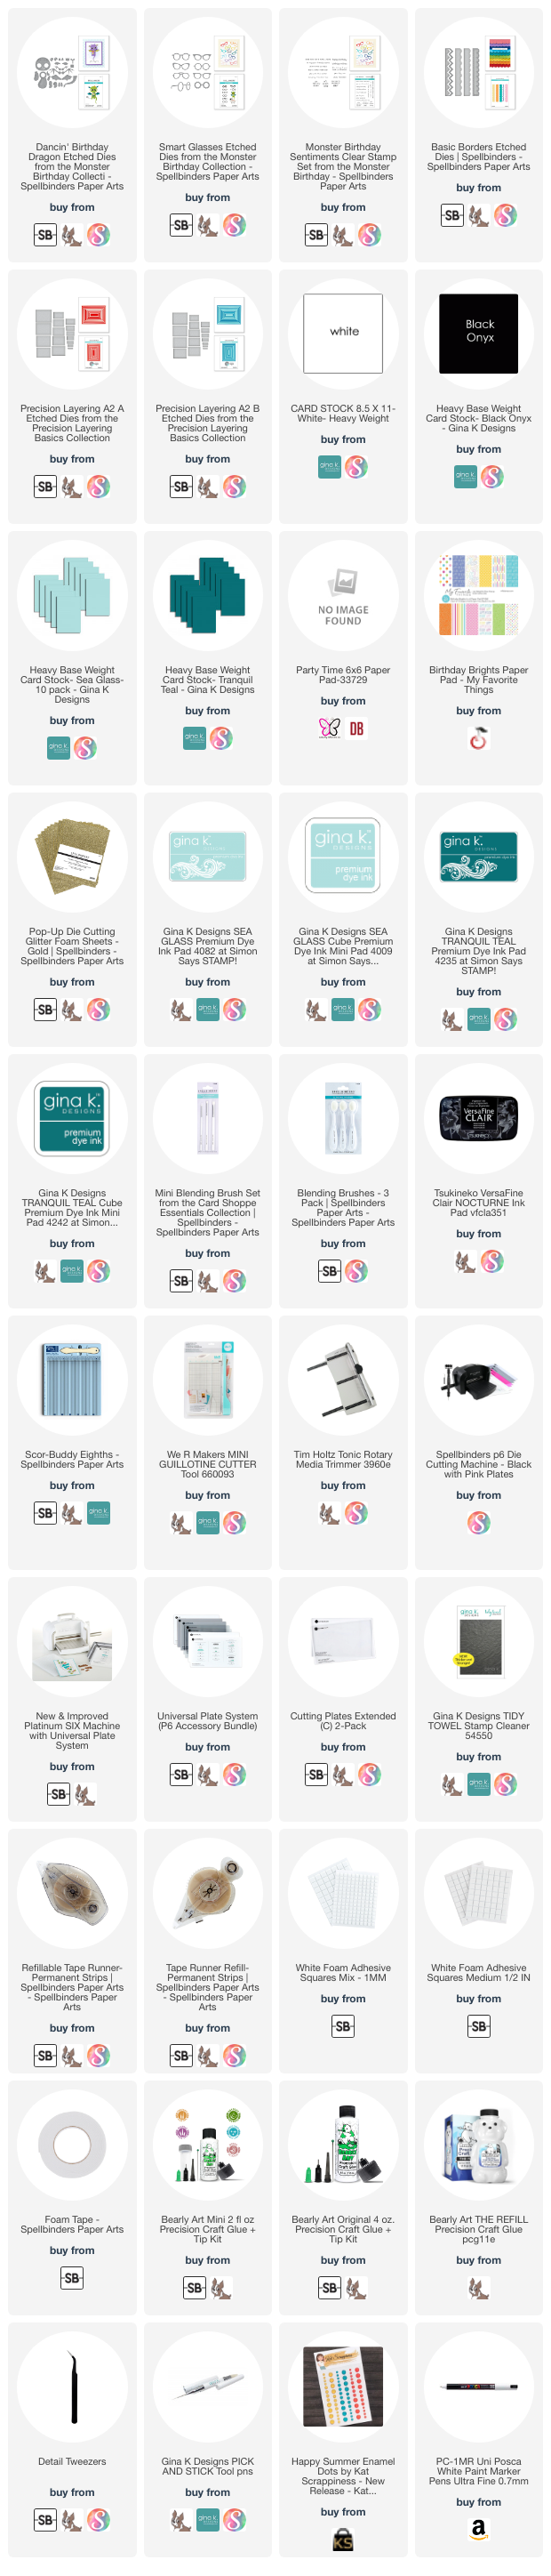 Spellbinders
SpellbindersMonster Birthday Collection
Compensated affiliate links used when available. If you place an order after clicking on one of my links, I will receive a small commission at no cost to you. Thank you for your support!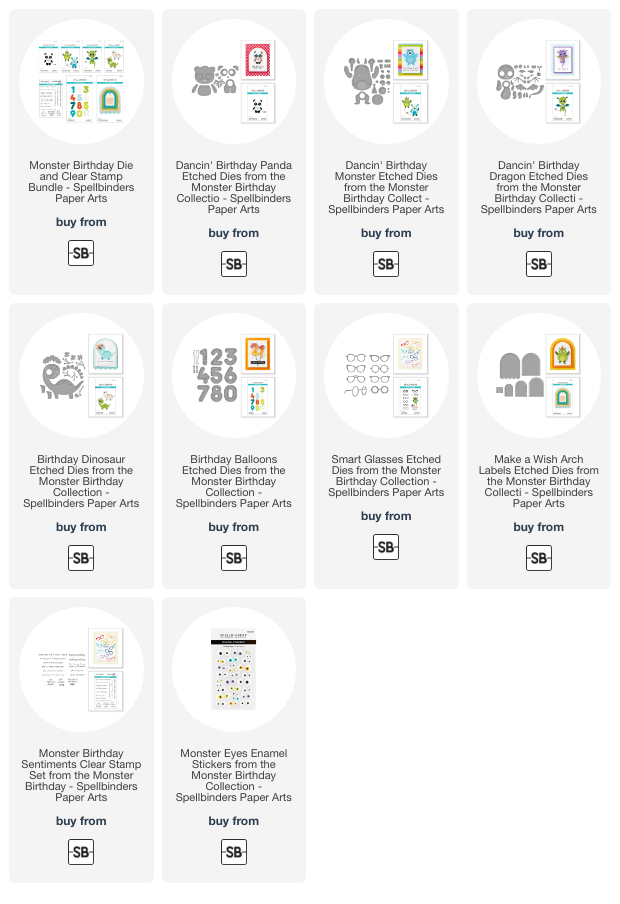 Happy Stamping!!
Happy Stamping!!


No comments:
Post a Comment