
PRODUCT LINKS BELOW CONTAIN COMPENSATED AFFILIATE LINKS AT NO COST TO YOU
The Gina K. Designs November 2023 Release is NOW available! You can find the FULL release in the store HERE or direct links at the bottom of the post.
I'm
excited to be joining Gina K. Designs for the November 2023 Release! I
have a couple cards that I've created to share during tonight's LIVE Release
Party over on the Gina K. Designs Facebook Page, YouTube Channel, and
Twitch.
My cards feature the NEW Sending You a Smile stamp set illustrated by Arjita Singh. A coordinating die set is also available.

My first card features the NEW Sending You a Smile stamp set along with the previously released Thanks and Shadow Die.
Steps to create Card:
- Using a stamp positioner you will take an A2 white card panel and stamp the floral image from Sending You a Smile with Amalgam Barely There ink. Do not remove stamp the stamp from your stamp positioner as you will need to re-stamp after you color.
- Color Image using your favorite coloring medium. I used Copic Markers.
- Place the card panel back into your stamp positioner and re-stamp using Amalgam Obsidian ink. This gives you a crisp black outline.
- Cut white card panel with smallest rectangle in Master Layout 1.
- Cut black mat with largest rectangle in Master Layout 1.
- Cut out 3 Thanks from the Thanks and Shadow Die. You will stack and glue them together.
- Stamp and heat emboss the Friend sub sentiment from the Sending You a Smile stamp set in white on a scrap of black card stock. Use Sentiment Strips Die and trim length.
- Assemble card on a white A2 card base. I popped up my focal panel and sub sentiment with foam squares for dimension.
- For finishing touches I added black pearls and used a Spectrum Noir Clear Overlay pen to the flower centers.

Card Measurements:
White A2 Top Fold Card Base: 4 1/4" x 5 1/2" (4 1/4" x 11", scored at 5 1/2")
Black Mat: 3 7/8" x 5 1/8"- Master Layout 1 Die Set
White Panel: 3 3/4" x 5" - Master Layout 2 Die Set
Black Sentiment Strip: 15/16" x 1/4" - Sentiment Strips Die Set (trimmed down)
Copic Markers:
Flower: BV11, BV04, BV02
Flower Center: YR23, Y18, Y15 & Spectrum Noir Clear Sparkle Overlay Pen
Leaves: YG97, YG95, YG93, YG91

Compensated affiliate links used when available. If you place an order after clicking on one of my links, I will receive a small commission at no cost to you. Thank you for your support!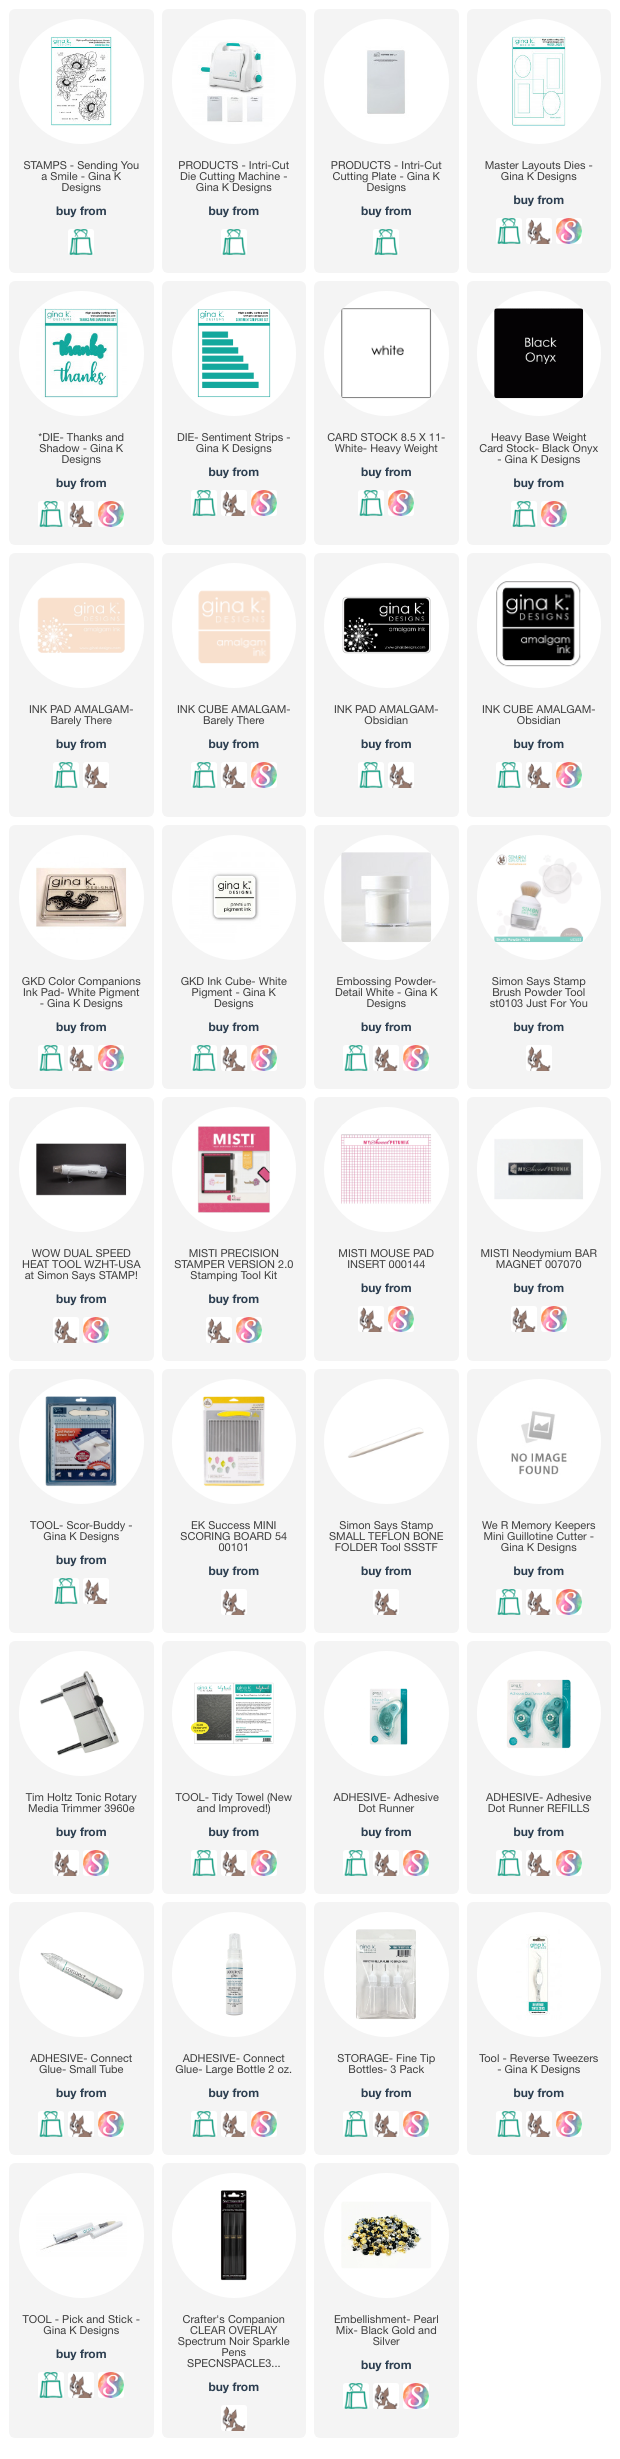
My second card features the NEW Sending You a Smile stamp set along with the "Friend" die from the previously released Stitched Leaves Die Set.
Steps to create Card:
- Using a stamp positioner you will take an A2 white card panel and stamp the the smaller floral image from Sending You a Smile with Amalgam Barely There ink in the lower left corner. Without moving the stamp, flip the card panel and stamp in the top right corner. Do not remove stamp the stamp from your stamp positioner as you will need to re-stamp after you color.
- Color Image using your favorite coloring medium. I used Copic Markers.
- Place the card panel back into your stamp positioner and re-stamp using Amalgam Obsidian ink. This gives you a crisp black outline.
- Cut white card panel with smallest (stitched) rectangle in Master Layout 2.
- Cut black mat with largest rectangle in Master Layout 2.
- Cut out 3 Friend die cuts from the Stitched Leaves Die Set. You will stack and glue them together.
- Stamp and heat emboss the It's Your Birthday! sub sentiment from the Sending You a Smile stamp set in white.
- Cut a 1 1/4" x 4 1/4" strip of vellum. You will wrap it around and attach to the back of the panel.
- Assemble card on a white A2 card base. I popped up my focal panel and sub sentiment with foam squares for dimension.
- For finishing touches I added black pearls and used a Spectrum Noir Clear Sparkle Overlay pen to the flower centers.

Card Measurements:
White A2 Top Fold Card Base: 4 1/4" x 5 1/2" (4 1/4" x 11", scored at 5 1/2")
Black Mat: 3 5/8" x 4 7/8" - Master Layout 2 Die Set
White Stitched Panel: 3 1/2" x 4 3/4" - Master Layout 2 Die Set
Vellum Strum: 1 1/4" x 4 1/4" - (wrapped around white card panel)
Black Sentiment Strip: 1 1/4" x 1/2"
Copic Markers:
Flower: R85, R83, R81
Flower Center: YR23, Y18, Y15 & Spectrum Noir Clear Sparkle Overlay Pen
Leaves: YG97, YG95, YG93, YG91

Compensated affiliate links used when available. If you place an order after clicking on one of my links, I will receive a small commission at no cost to you. Thank you for your support!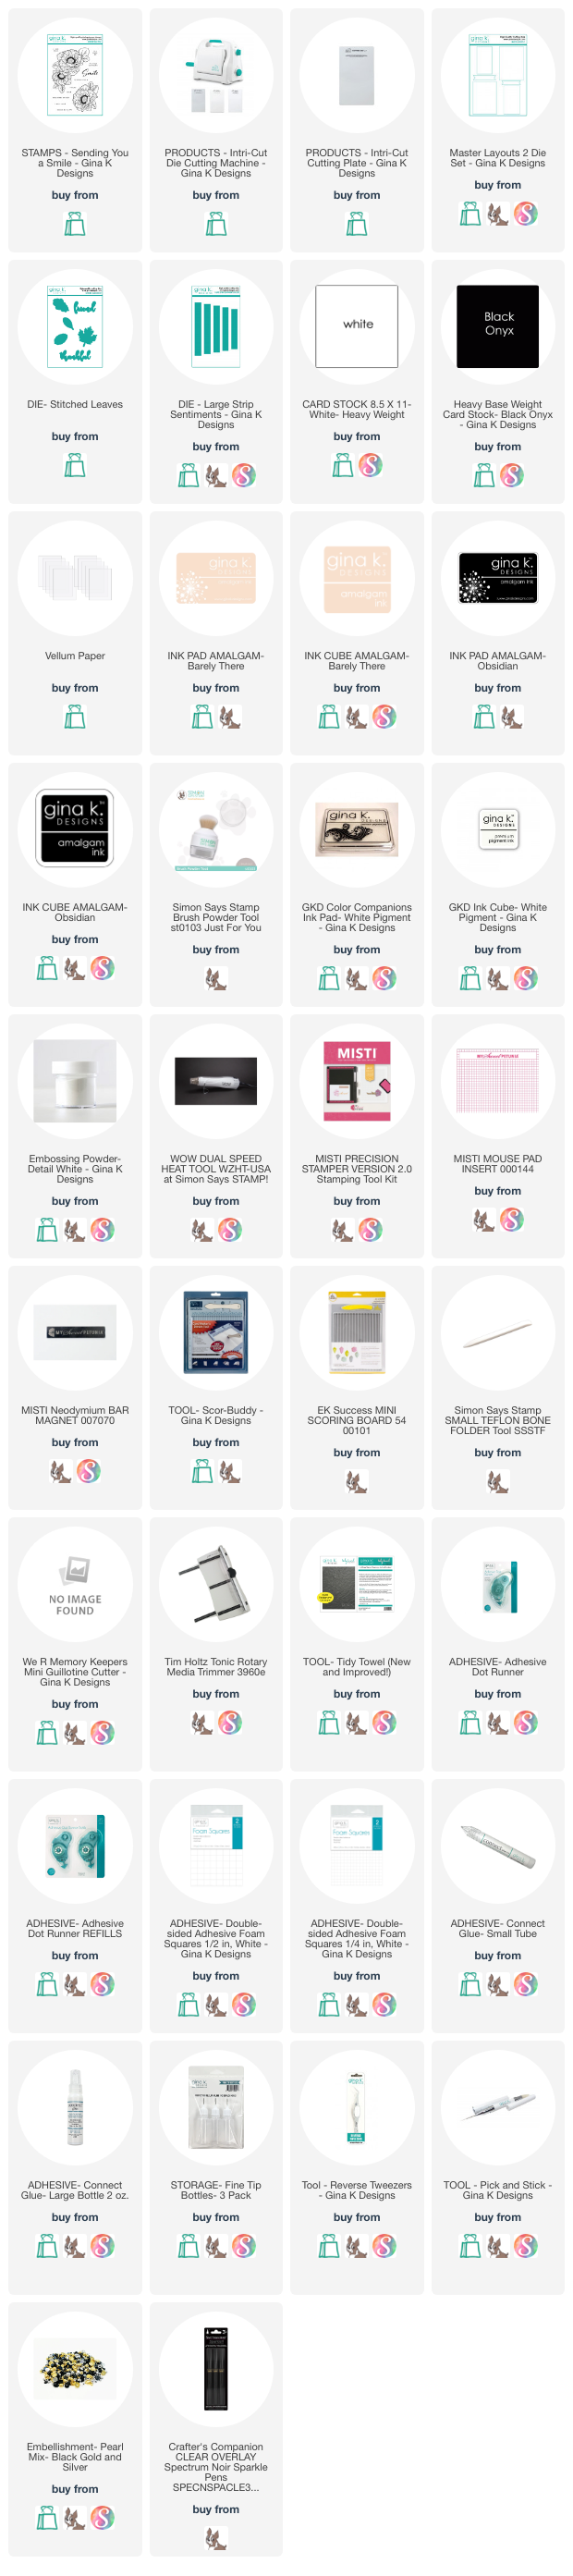
Gina K. Designs
November 2023 Release
Compensated affiliate links used when available. If you place an order after clicking on one of my links, I will receive a small commission at no cost to you. Thank you for your support!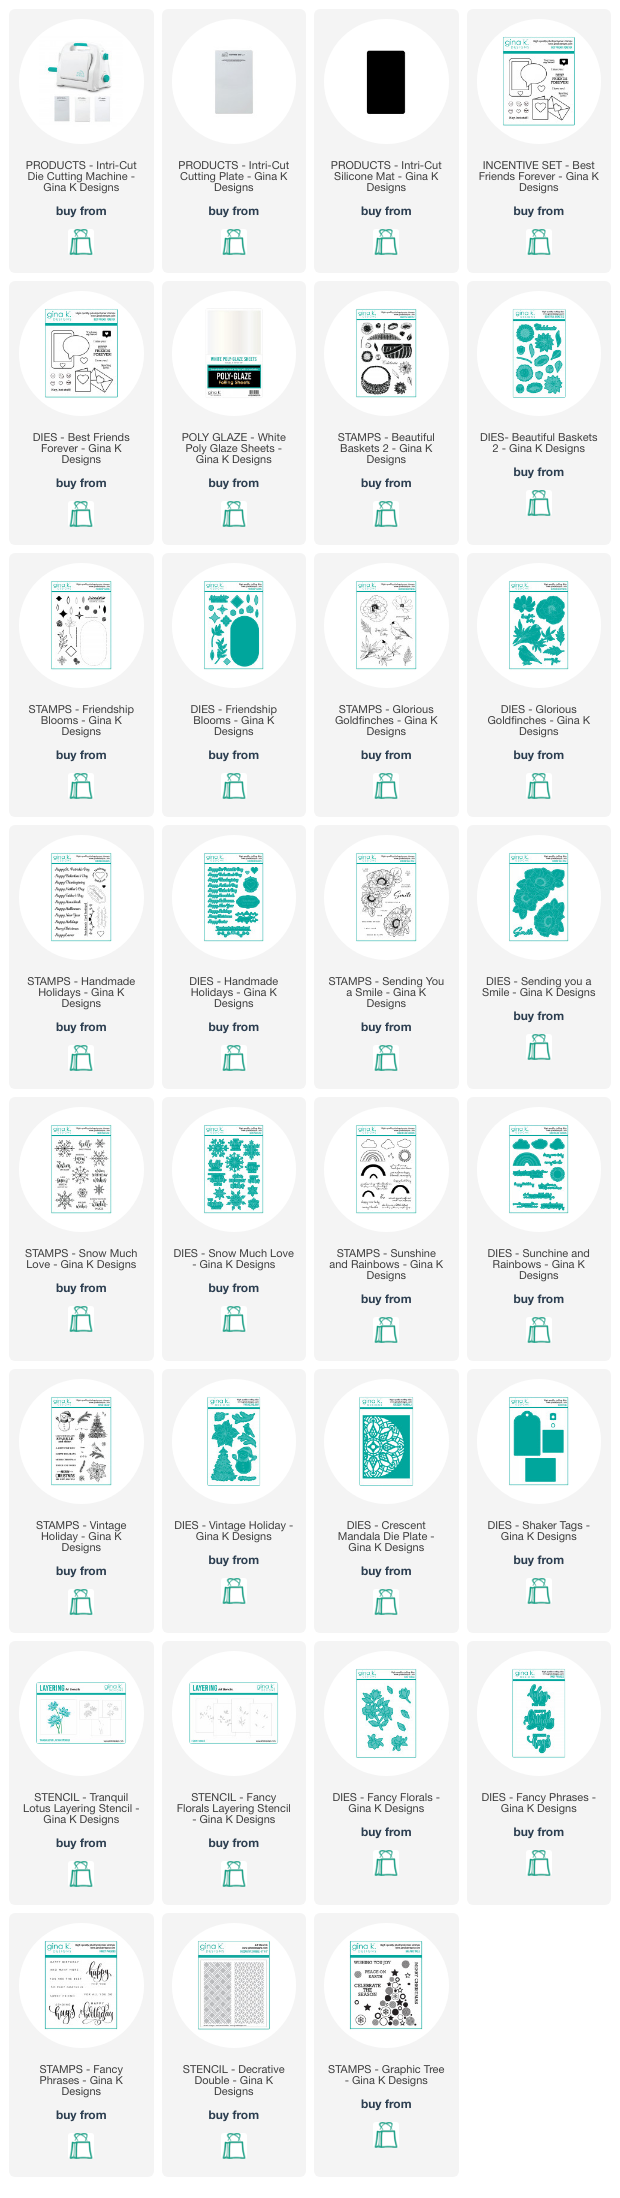 Happy Stamping!!
Happy Stamping!!


No comments:
Post a Comment