PRODUCT LINKS BELOW CONTAIN COMPENSATED AFFILIATE LINKS AT NO COST TO YOU

Sweet 'N Sassy Stamps
is over on Instagram today with our Friendship & Encouragement Inspiration
Instagram Hop! Be sure to head over and comment on each stop of the hop
for a chance to WIN $25 gift code to the Sweet 'N Sassy Stamps online
shop. You can find the beginning of the hop and all the details on the
SNSS Instagram Page: https://www.instagram.com/sweetnsassystamps/ 

 Card Measurements:


I'm sharing TWO cards today that I created!
My first card features the NEW Bold Blooms Stamp & Die Bundle and Sweet Scalloped Circles die set from the February 2023 Release.

Card Measurements:
White A2 Top Fold Card Base: 4 1/4" x 5 1/2" (4 1/4" x 11", scored at 5 1/2")
White Embossed Panel: 4" x 5 1/4"
Sweet Scalloped Circles: 2" & 3"
Sentiment Strip: 1 1/2" x 1"
Steps to Create Card:
- To create the background you will emboss a white panel measuring 4" x 5 1/4"
with Spellbinders Party Spots embossing folder. Then cut out 4
circles (2 - 2" & 2 - 3") from the NEW Sweet Scalloped Circles die set. Arranged them to create the focal point for the Bold Blooms floral images. I glued them directly to the embossed panel. The finished panel is attached directly to the A2 top fold card base.
- Stamp and emboss the flowers from the Bold Blooms stamp set using VersaMark and white detail embossing powder. Then I carefully ink blended the blooms and leaves with pink (Dusty Rose) and green (Jelly Bean Green) ink. I found using post-it notes to mask off the flowers and a small blending brush helped with the leaves. Next cut out the images using the coordinating die set or fussy cut them out.
- The sentiment is stamped with green ink and trimmed down to a sentiment strip measuring 1 1/2" x 1". For embellishment I added a few clear enamel dots.

Compensated affiliate links used when possible. If you place an order after clicking on one of my links, I receive a small commission at no cost to you. Thank you for your support!
My second card features the NEW Bold Blooms Background stamp along with the Circle die set along with the previously released Thanks Word Die and Sentimental Wordfetti stamp set.

White A2 Top Fold Card Base: 41/4" x 5 1/2" (4 1/4" x 11", scored at 5 1/2")
Black Mat: 3 7/8" x 5 1/8"
Kraft Panel: 3 3/4" x 5"
Black Circle: 2 3/4"
White Thanks Word: 2 3/4" x 1 1/8" (approx)
Steps to Create Card:
- Stamp Bold Blooms Background panel. With the aid of the Misti I stamped a 4 1/4" x 5 1/2" kraft panel (I always like to start off with a larger panel than I need so I can cut it down) with VersaMark and detail white embossing powder. You will then trim it down to 3 3/4" x 5". Next cut a black mat measuring 3 7/8" x 5 1/8".
- Cut black circle measuring 2 3/4" using Circles die set. You will need to stamp sub sentiment from the Sentimental Wordfetti stamp set using VersaMark and embossing with detail white embossing powder.
- Using the Thanks Word Die, cut out 3 in white card stock. Glue them together before adding them to the circle.
- Assemble card.
- For embellishment add white enamel dots.

Compensated affiliate links used when possible. If you place an order after clicking on one of my links, I receive a small commission at no cost to you. Thank you for your support!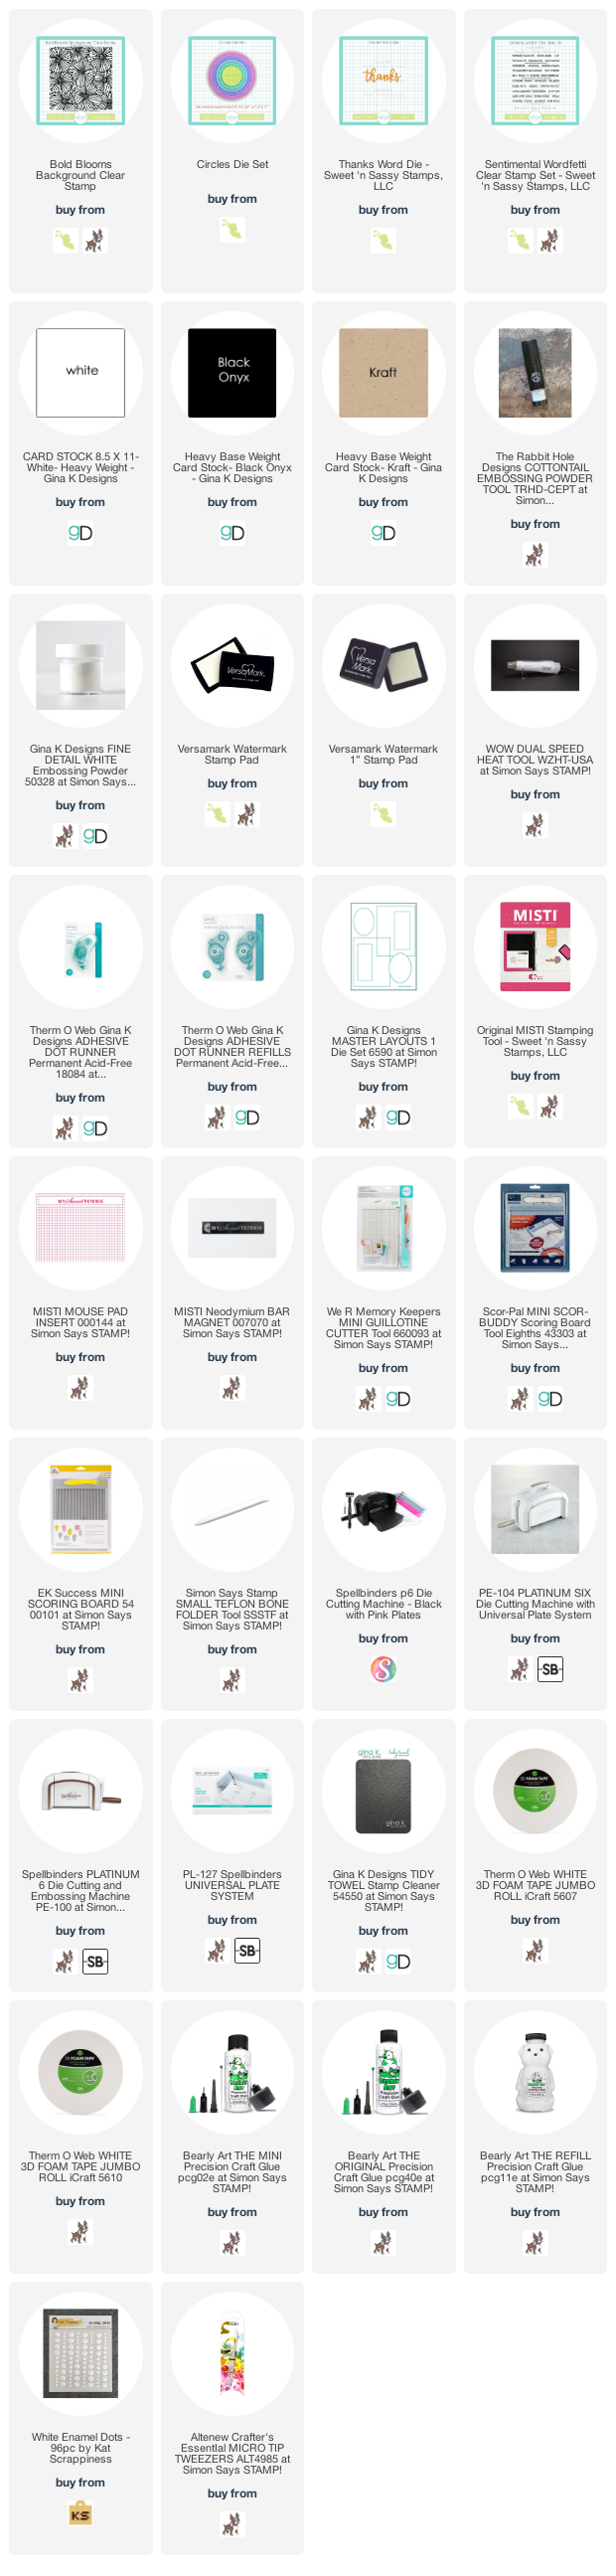

February 2023 Release
Compensated affiliate links used when possible. If you place an order after clicking on one of my links, I receive a small commission at no cost to you. Thank you for your support!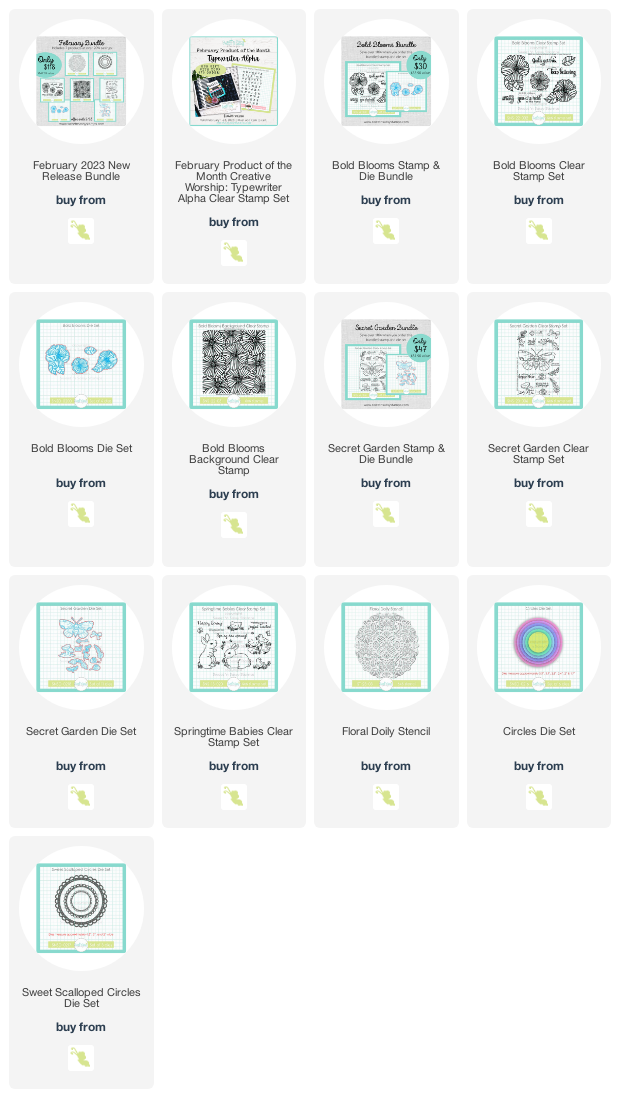 Happy Stamping!!
Compensated affiliate links used when possible. If you place an order after clicking on one of my links, I receive a small commission at no cost to you. Thank you for your support!
Happy Stamping!!


No comments:
Post a Comment