PRODUCT LINKS BELOW CONTAIN COMPENSATED AFFILIATE LINKS AT NO COST
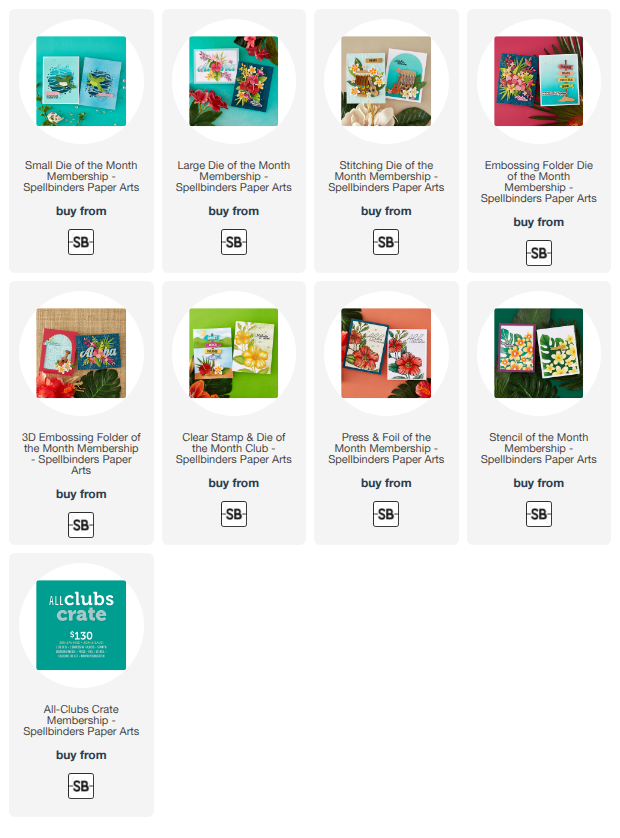
Today's card features Spellbinders NEW June 2026 3D Embossing Folder of the Month and Large Die of the Month Club Kits. If you are not already a
subscriber, the registration window is now open through the 27th and can be found HERE.
The NEW 3D Embossing Folder of the Month is called, Island Style (3EOM-JUN26). The Folder will emboss a mix of Tiki Statues, Palm trees and Whimsical Patterns. This folder is sized 5 1/2" x 8 1/2" which allows you to create an arrange of card sizes from A2, 5x7, Slimline, etc.
The Large Die of the Month is called, Tropical Blooms (DOML-JUN26). This set includes dies for the word Aloha along with Tropical Foliage and Flowers.
I created two cards to share with you with a mix of these Club Kits.
Card #1 - Hula-ING Over To Say Hello
Featuring: Island Style 3D Embossing Folder of the Month (3EOM-JUN26), Tropical Blooms Large Die of the Month (DOML-JUN26), Aloha Hulu All Clubs Crate Exclusive Item (CED-JUN26) and a sentiment from the This Way to Rainbows Clear Stamp & Die of the Month (CDOM-JUN26).

Card Measurements:
White A2 Top Fold Card Base: 4 1/4" x 5 1/2" (4 1/4" x 11", scored at 5 1/2")
Neenah Desert Storm A2 Embossed Panel: 4 1/4" x 5 1/2"
Neenah Desert Storm Sand Hill: 4 1/4" x 1 3/8"
Hula Girl: 3 1/4" x 4 3/8"
White Sentiment Die Cut: 2 1/8" x 5/8"
Copic Marker Used For Sand:
E42, E43, E44 and White Gel Pen
Card #2 - Aloha
Featuring: Tropical Blooms Large Die of the Month (DOML-JUN26) and Island Style 3D Embossing Folder of the Month (3EOM-JUN26).

Card Measurements:
White A2 Top Fold Card Base: 5 1/2" x 4 1/4" (5 1/2" x 8 1/2", scored at 4 1/4")
Neenah Desert Storm A2 Embossed Panel: 5 1/2" x 4 1/4"

 Spellbinders
June 2026 Club Kits
Compensated affiliate links used when available. If you place an order after clicking on one of my links, I will receive a small commission at no cost to you. Make sure to accept cookies. Thank you for your support!

Purchase at least $150 (after discounts/coupons) before shipping and taxes and receive one Party Time Dragon Etched Dies (S3-570) Full retail value of gift is $15.99. Club Subscriptions are not eligible for the promotion. If your cart does not meet the minimum, the free item will not be shipped. Free gifts are non-returnable or exchangeable. Offer is one time use; individual consumer use only; not for distribution; excludes club subscriptions, tax, & shipping; not valid on any previous web, phone or retail purchases; cannot be redeemed for cash; cannot be combined with any other offer or discounts; void where prohibited; limited to stock on hand. One per customer. Offer available from 06/01/2026 – 06/30/2026, at 11:59 PST. While supplies last.
Happy Stamping!!


)