PRODUCT LINKS BELOW CONTAIN COMPENSATED AFFILIATE LINKS AT NO COST 


Spellbinders NEW July 2026 Club Kits are NOW available for registration! Today I'm sharing a card featuring the NEW July 2026 Clear Stamp & Die of the Month. If you are not already a subscriber, the registration window is open now through July 27th and can be found HERE.
The July 2026 Clear Stamp & Die of the Month is called, Cue The Merry (CDOM-JUL26). This set includes 13 sentiments that pair perfectly to this months club kits. There are also 3 small snowflake included in the set. There are 16 coordinating dies to cut out everything in the set.
My card features the Cue The Merry Clear Stamp & Die of the Month (CDOM-JUL26) along with the adorable Penguin from the Candy Cane Swing All-Clubs Crate Exclusive Item (CED-JUL26). Please note that these two items are only available with the All-Clubs Crate Membership. The tag shaped card was created with the Scallop Labels and Tag (S5-625), the reinforcement from Essential Tags (S4-1375), red stripes using Stripe Right (S4-1450) and snowflakes from Layering Snowflakes (S5-651).

Tag Shaped Card Measurements:
White Tags: 3" x 4"
Poppy Strips: 3 1/2" x 1/4" (spaced 1/8" apart)
White Snowflakes: 3"
Penguin: 1 3/8" x 2"
To Create Hinged Tag:
- Die Cut 2 White Tags
- Take 1 Tag (pretty side up) and score across tag 1/2" from the top to create hinge.
- Add strong 1/8" adhesive tape across the top of the score line just created.
- Attach the second white tag (pretty side up) on top of the adhesive to create the shaped card base.

Compensated
affiliate links used when available. If you place an order after
clicking on one of my links, I will receive a small commission at no
cost to you. Make sure to accept cookies. Thank you for your support!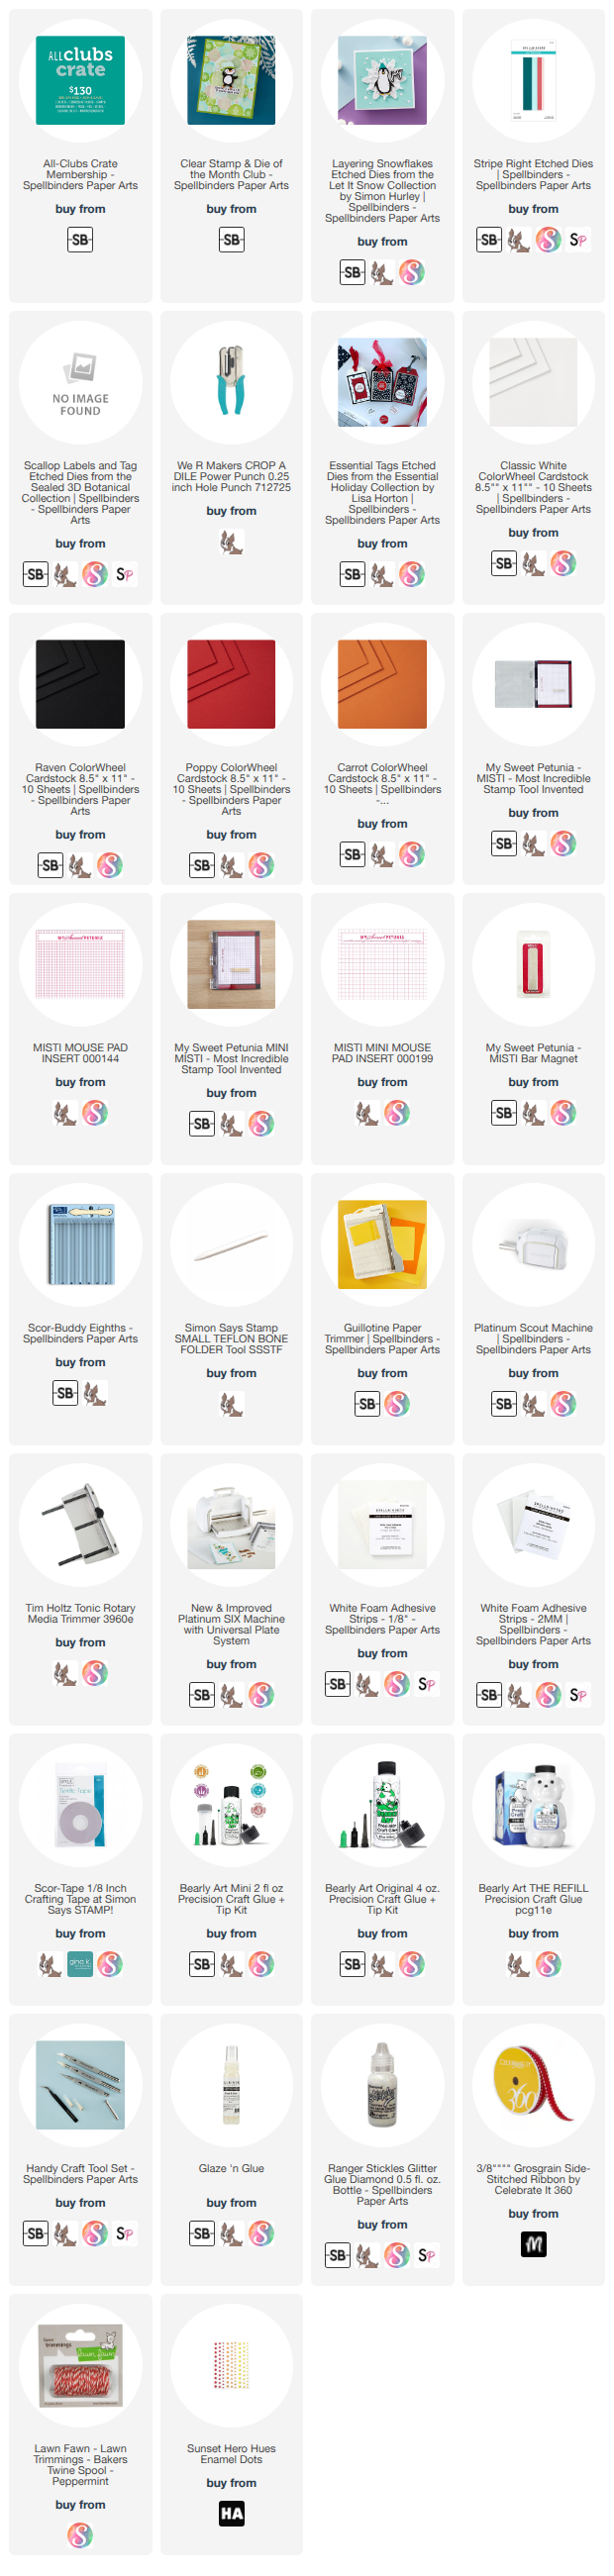


Spellbinders
July 2026 Club Kits
Compensated
affiliate links used when available. If you place an order after
clicking on one of my links, I will receive a small commission at no
cost to you. Make sure to accept cookies. Thank you for your support!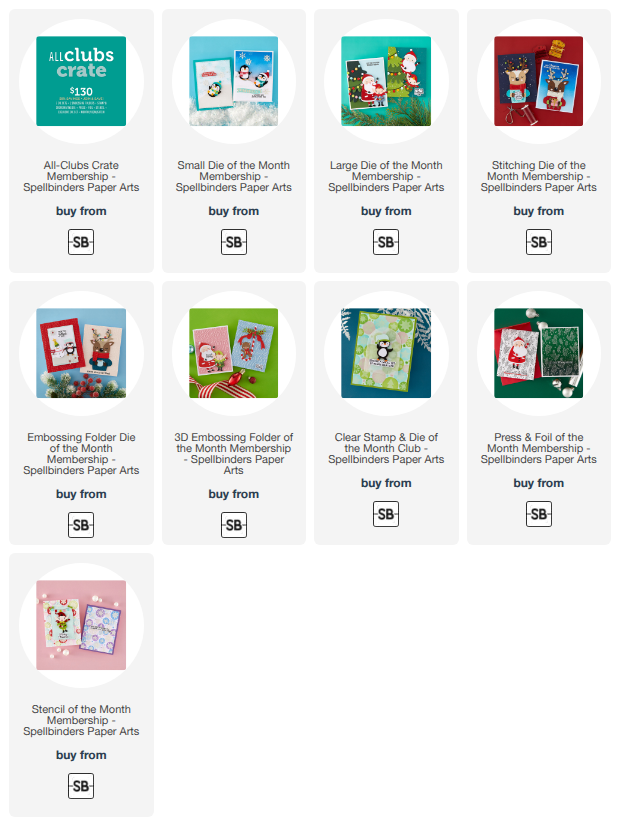
Happy Stamping!!


