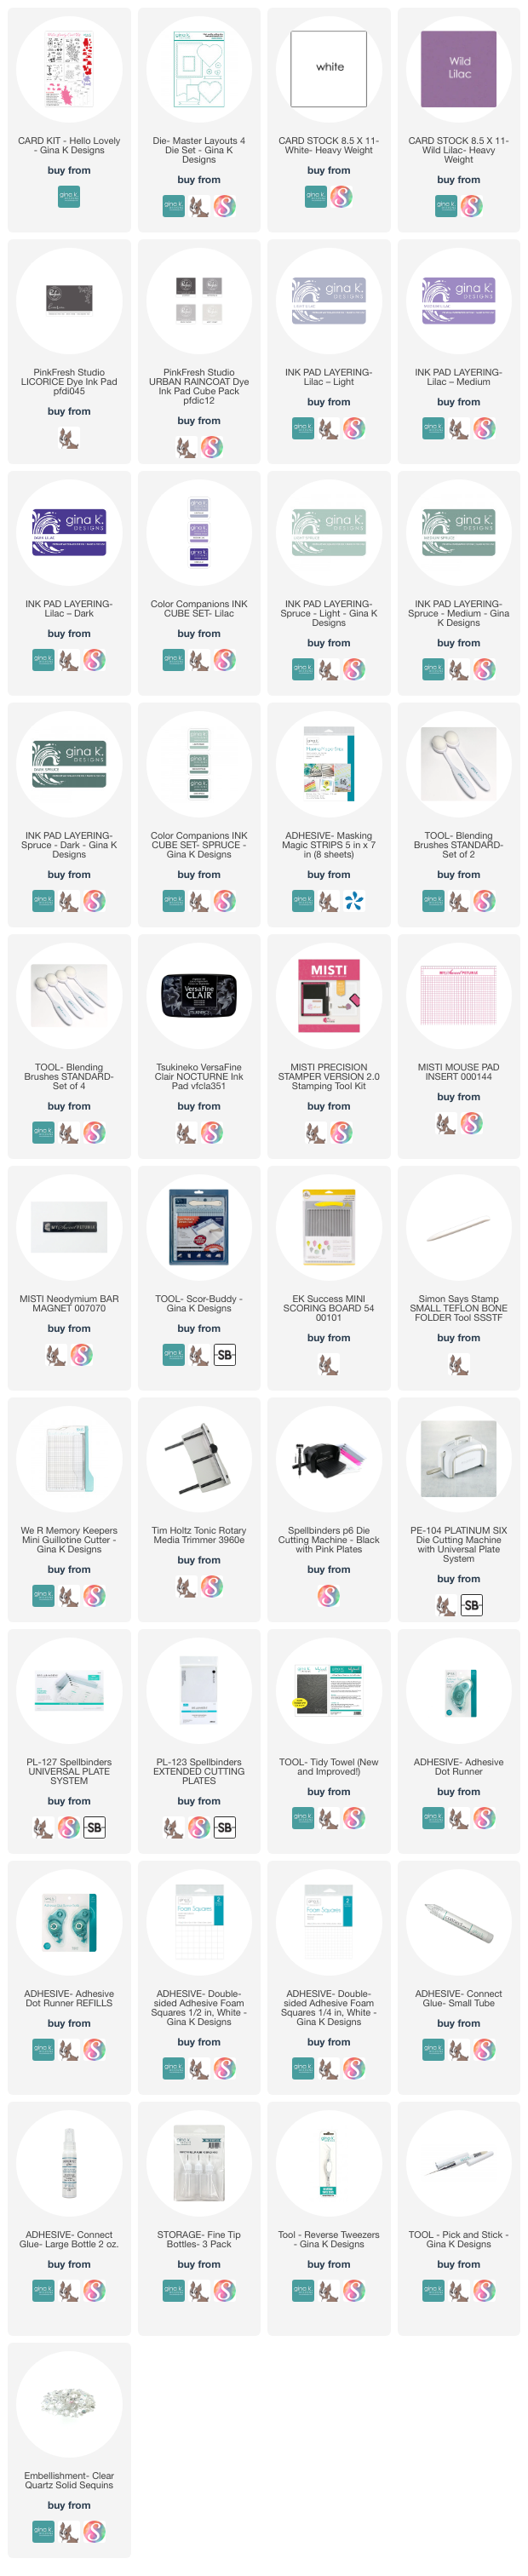
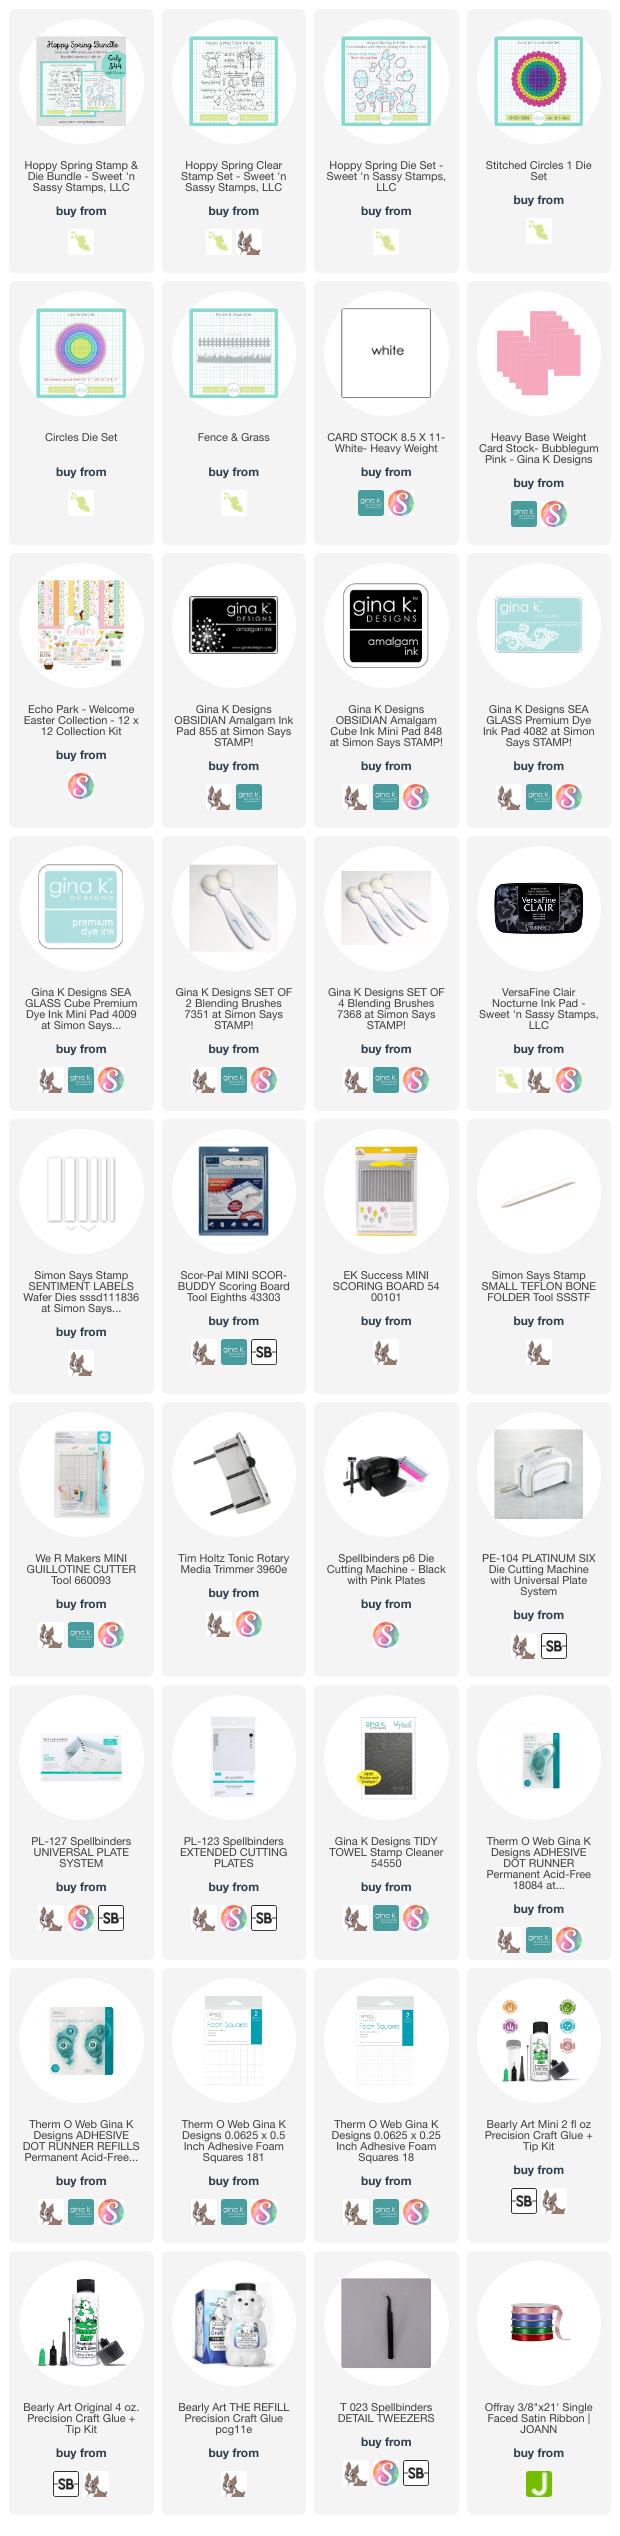
The Gina K. Designs February 2024 Release is NOW available! You can find the FULL release in the store HERE or direct links at the bottom of the post.
I'm
excited to be joining Gina K. Designs for the February 2024 Release! I
have a couple cards that I've created to share during tonight's LIVE Release
Party over on the Gina K. Designs Facebook Page, YouTube Channel, and
Twitch.
Before we get started, make sure to check out the NEW Card Kit. It's called All Things Spring Card Kit and it's jammed packed with goodies !!
My cards feature the NEW With Sympathy stamp set illustrated by Debrah Warner. Sympathy cards are new easy to make but this set is perfect for creating this type of card.
I have two cards to share with you tonight to show how I created CAS (clean & simple) backgrounds to have the sentiment as the focal point.
White A2 Top Fold Card Base: 4 1/4" x 5 1/2" (4 1/4" x 11", scored at 5 1/2")
Grass Green A2 Panel: 4 1/4" x 5 1/2"
Black Mat: 3 3/4" x 5" - Master Layout 1
Layering White Panel: 3 5/8" x 4 7/8" - Master Layout 2
Velum Torn Strip: 1 1/2" x 6" - Wrap and attach to back of panel
Black Sentiment Strip: 2 1/4" x 1"
Steps to Create Card:
- Create Heavy Weight White A2 Top Fold Card Base measuring: 4 1/4" x 5 1/2" (4 1/4" x 11", scored at 5 1/2").
- Cut Grass Green A2 Panel measuring: 4 1/4" x 5 1/2". Stamp Gauze Background stamp with Fresh Asparagus ink. Ink blend around the edges with Grass Green and Fresh Asparagus ink.
- Die Cut Black Onyx panel using the smaller rectangle die from Master Layout #1 measuring: 3 3/4" x 5".
- Die Cut Layering Weight White panel using the largest rectangle die from Master Layout #2 measuring:3 5/8" x 4 7/8". Using Grass Green and Jelly Bean Green stamp images from the With Sympathy stamp set. Lightly ink blend the left edge with the ink. Add white splatters.
- Cut Vellum strip approx 2" x 6" and tear teach side to have a final strip measuring 1 1/2" x 6. You will wrap the strip around the white panel and attach to the back before adhering it to the black panel.
- Stamp and heat emboss "With Deepest Sympathy" sentiment from the With Sympathy stamp set using Detail White Embossing Powder on a piece of Black Onyx card stock. Trim into a sentiment strip measuring: 2 1/4" x 1".
- Assemble card.
- Embellish with Clear Quartz Sequins.
Compensated affiliate links used when available. If you place an order after clicking on one of my links, I will receive a small commission at no cost to you. Thank you for your support!
My second card uses one floral image from the set stamped in a blue & green color combo with a vellum foliage accent.
White A2 Top Fold Card Base: 4 1/4" x 5 1/2" (4 1/4" x 11", scored at 5 1/2")
In The Navy A2 Panel: 4 1/4" x 5 1/2"
Fresh Asparagus Mat: 3 5/8" x 4 7/8" - Master Layout 2
White Stitched Panel: 3 1/2" x 3 3/4"
Fresh Asparagus Label: 2 3/4" x 1 7/16" - Master Layout #7
In The Navy Circle:2 1/4" - Master Layout #3
White Stitched Circle: 2 1/8" - Master Layout #3
Steps to Create Card:
- Create Heavy Weight White A2 Top Fold Card Base measuring: 4 1/4" x 5 1/2" (4 1/4" x 11", scored at 5 1/2").
- Cut In The Navy A2 Panel measuring: 4 1/4" x 5 1/2".
- Die Cut Fresh Asparagus Mat using largest rectangle die in Master Layout #2 measuring: 3 5/8" x 4 7/8".
- Die Cut Layering Weight White Stitched Panel using smaller rectangle die in Master Layout #2 measuring: 3 1/2" x 3 3/4". Using the floral image from the With Sympathy stamp set stamp 4 using In The Navy, Fresh Asparagus and Tranquil Teal ink.
- Die Cut Fresh Asparagus Label from Master Layout #7.
- Die Cut 2 Vellum foliage accents using Foliage Fillers die set.
- Die Cut In The Navy Circle from Master Layout #3 measuring: 2 1/4".
- Die Cut Layering Weight White Stitched Circle from Master Layout #3 measuring: 2 1/8". Stamp "Forever In Our Hearts" sentiment from the With Sympathy stamp set with Amalgam Obsidian ink.
- Assemble Card.
- Embellish with matte silver pearls.
Compensated affiliate links used when available. If you place an order after clicking on one of my links, I will receive a small commission at no cost to you. Thank you for your support!
Gina K. Designs
February 2024 Release
Compensated affiliate links used when available. If you place an order after clicking on one of my links, I will receive a small commission at no cost to you. Thank you for your support!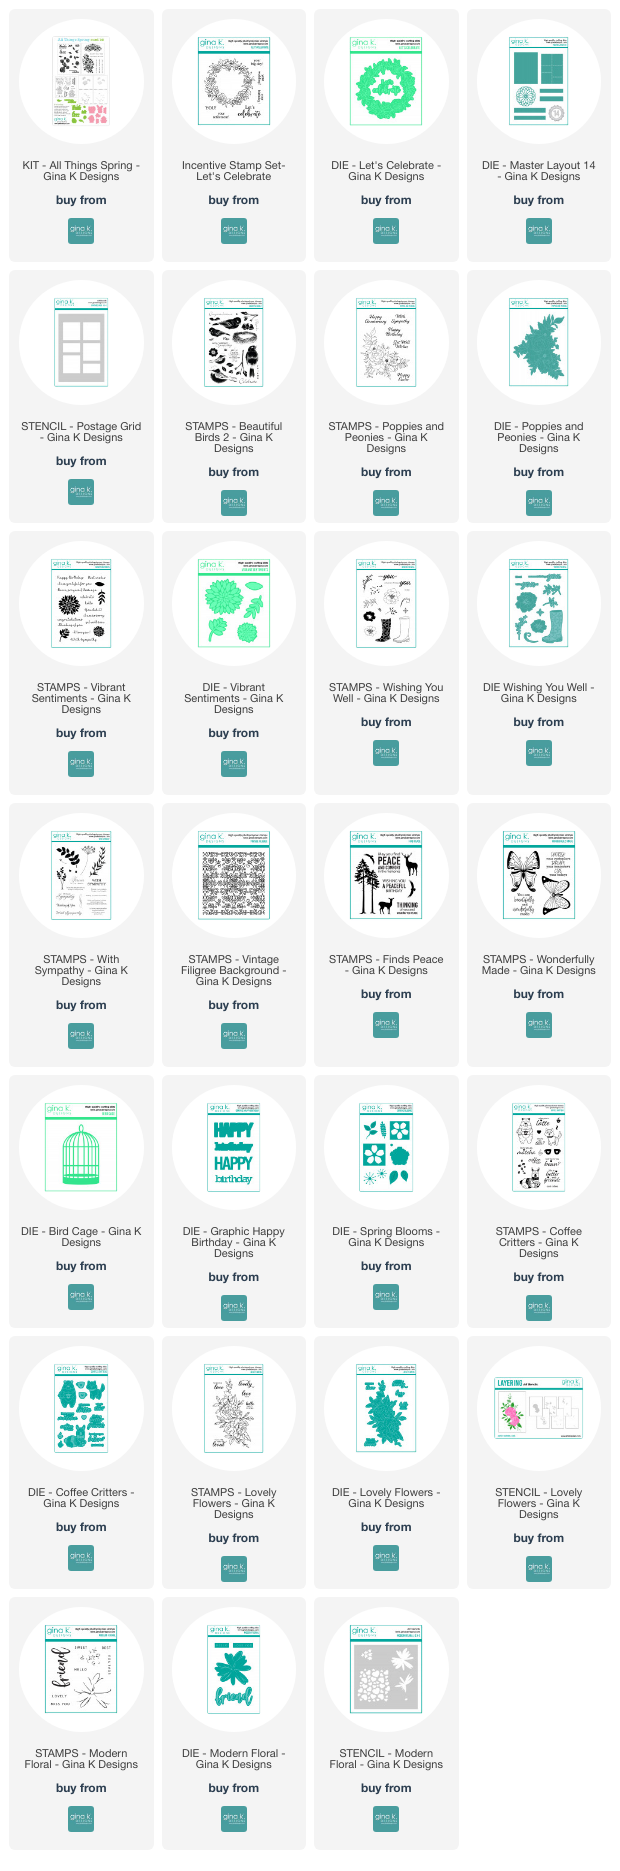 Happy Stamping!!


 Happy Stamping!!


_WM.jpg)